cloudHQ can sync and integrate and sync all files, attachments and notes with a folder in your Google Drive. This means that all files which are in Salesforce will be replicated to Google Drive. And if you setup two-way sync, then any changes in Google Drive (add of a file, remove, etc.) will be replicated back to Salesforce.
Here are short instructions for how to sync Salesforce file and folder to a Google Drive folder:
- Go to https://cloudHQ.net/init_salesforce.
- Click on the Backup and integrate Salesforce files:

- Select an already-configured Salesforce account or click “Add Salesforce” to add a new Salesforce account:
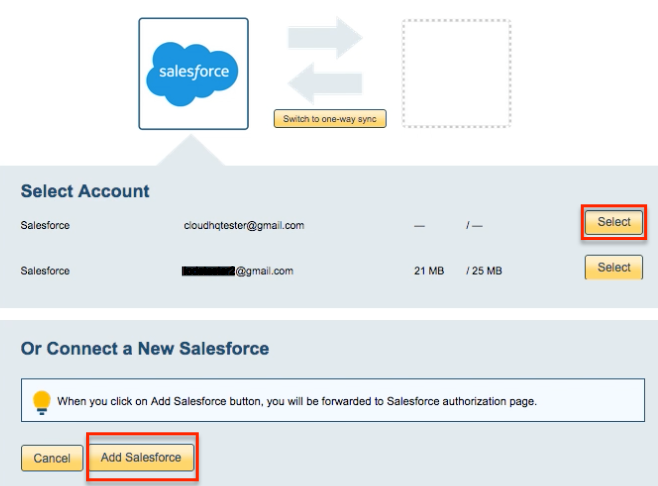
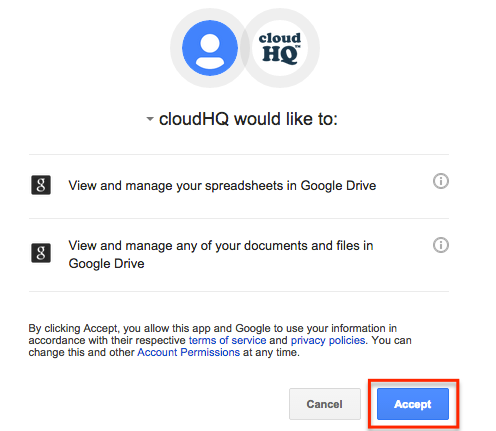
- If you click “Add Salesforce,” you will be forwarded to authorize cloudHQ to access your account:

- Tick option “Back up or integrate Salesforce documents, attachments, and files” and decide on the folder structure in your Google Drive:
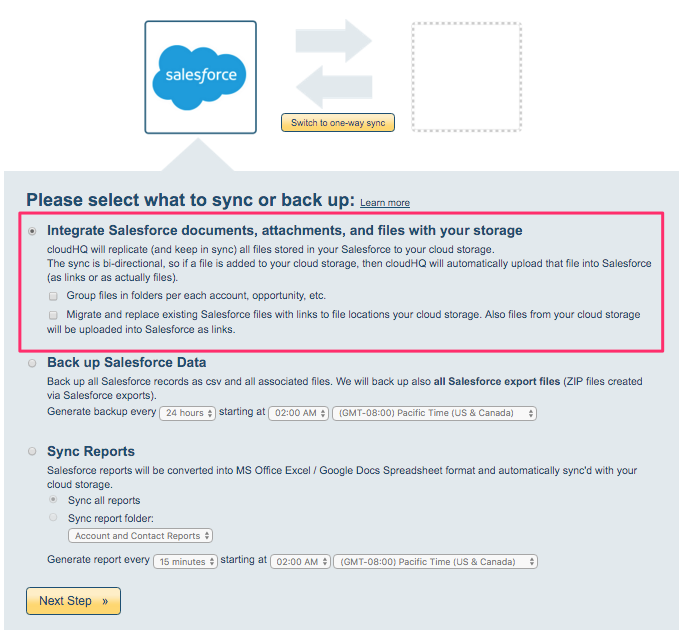
- If you do not select option “Group files in a folder per each account, opportunity, …” then all files will be created in one folder. This is useful if you do not have a large number of files.
- If you do select option “Group files in folder per each account, opportunity, …” then cloudHQ will create a folder for each record in Salesforce. For example, if you have an account named “Chevron” then cloudHQ will create folder “Accounts/Chevron”. You will be able to tune which objects are visible later on.
cloudHQ can also migrate all Salesforce files to Google Drive. If you select the option “Migrate and replace existing Salesforce files with links to file locations your cloud storage. Also, files from your cloud storage will be uploaded into Salesforce as links,” then cloudHQ will do the following:
- All your Salesforce files will be replicated to your cloud storage (that cloud be your SharePoint folder, Dropbox folder, etc.).
- Salesforce files will be replaced with links to your cloud storage (thus freeing up storage in Salesforce).
- Files from your cloud storage (i.e., files you add to your cloud storage folder) will be uploaded into Salesforce as links.
You can read more about these options here.
Choose options and then click “Next Step”.
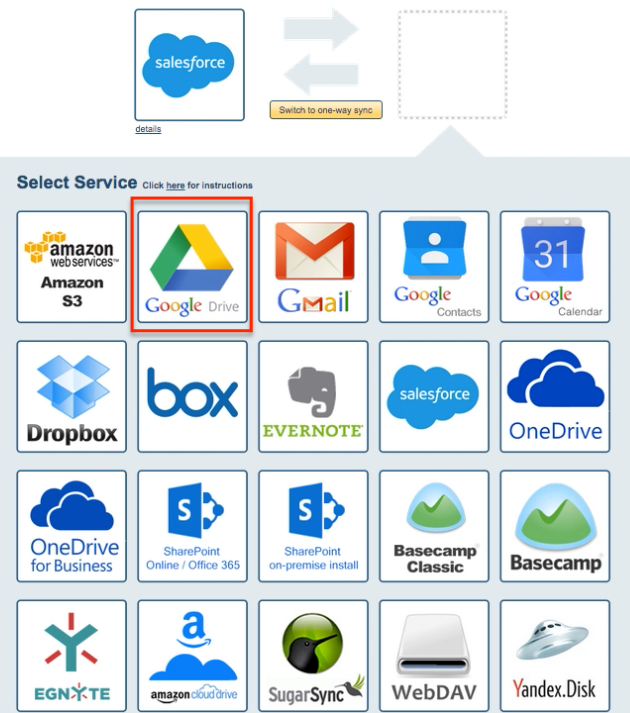
- Click the Google Drive icon:
- Select an already-configured Google Drive account or add a new Google Drive account:
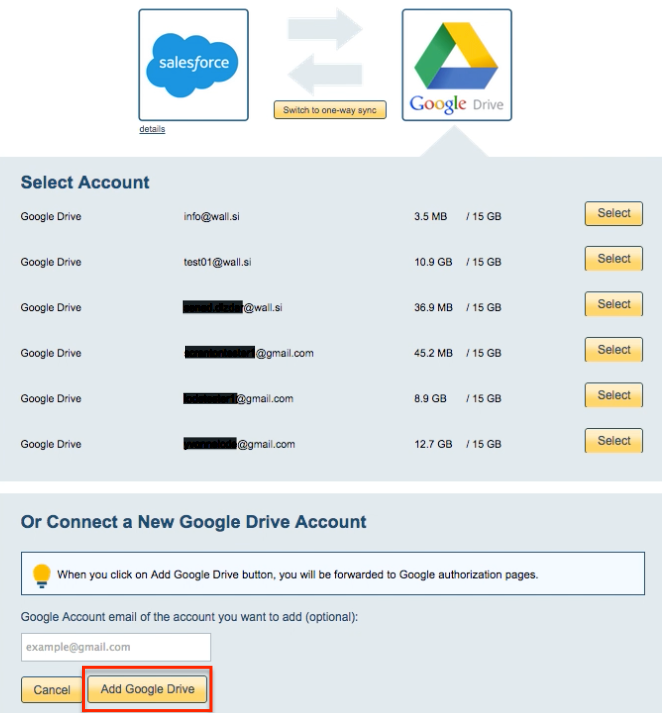
- If you click “Add Google Drive,” you will be forwarded to authorize cloudHQ to access your account:
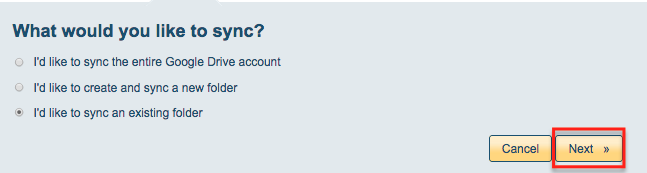
- Select what you’d like to sync, then click “Next”:
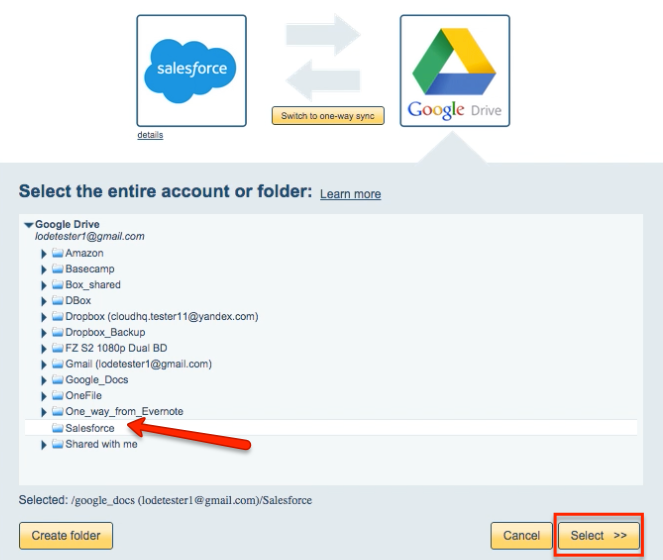
- Select the Google Drive folder you want to sync with Salesforce or click “Create folder” for a new one:
- Choose your options. Synchronization will start automatically:
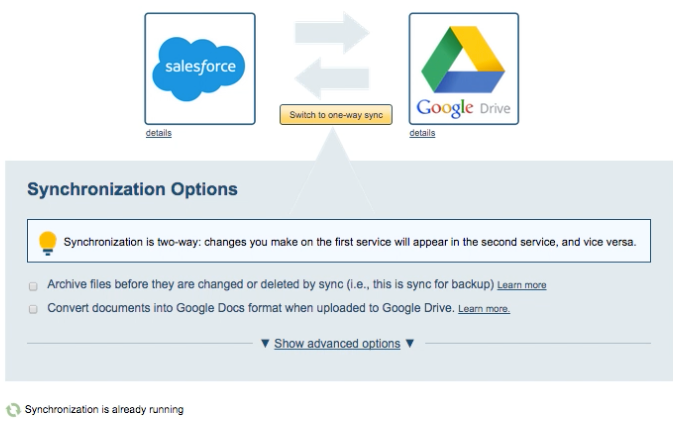
- The synchronization status will display after the initial synchronization.
- Here is How to Monitor Status of Sync.
- An email will confirm the success of the initial synchronization.