Here are short instructions for how to set up synchronization between an Office 365 SharePoint site and a Gmail label.
NOTE: You must have a cloudHQ Business Plan to add SharePoint accounts using cloudHQ.
- Start the synchronization wizard to sync two cloud accounts.
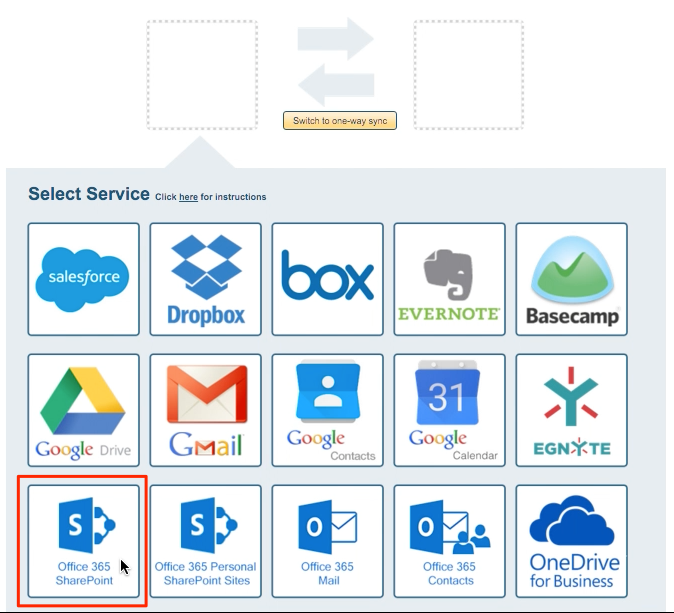
- Click the Office 365 SharePoint icon:
- Select an already-configured SharePoint account or click “Add Office 365 SharePoint” to add a new SharePoint account:

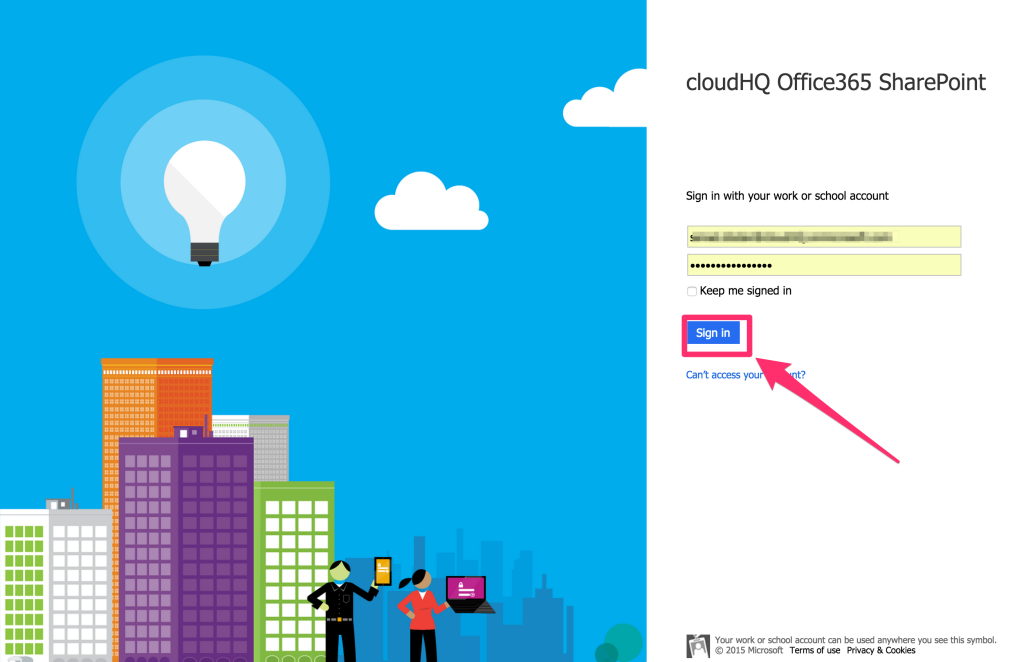
- If you click “Add Office 365 SharePoint,” you will be forwarded to authorize cloudHQ to access your account:
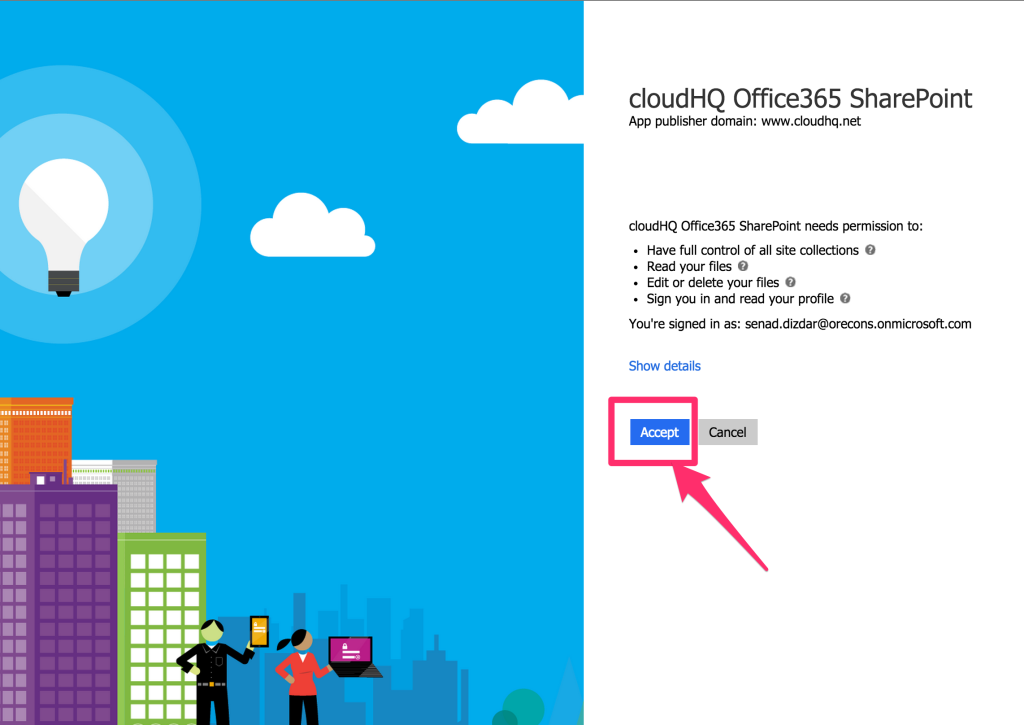
- Click “Accept” to authorize cloudHQ to access your account:
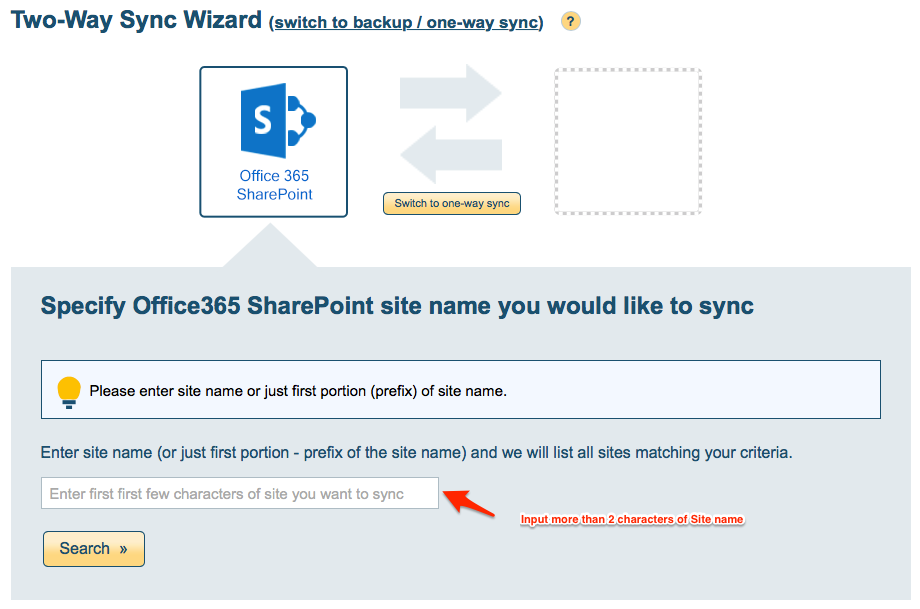
- Search SharePoint site you want to sync. Please type more than 2 characters of site name to search:
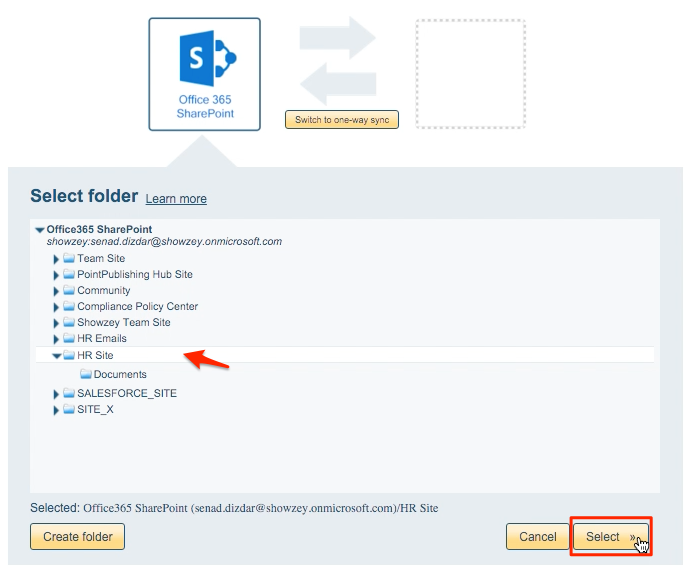
- Select the SharePoint folder you want to sync or click “Create Folder” to create a new one, then click “Select”:
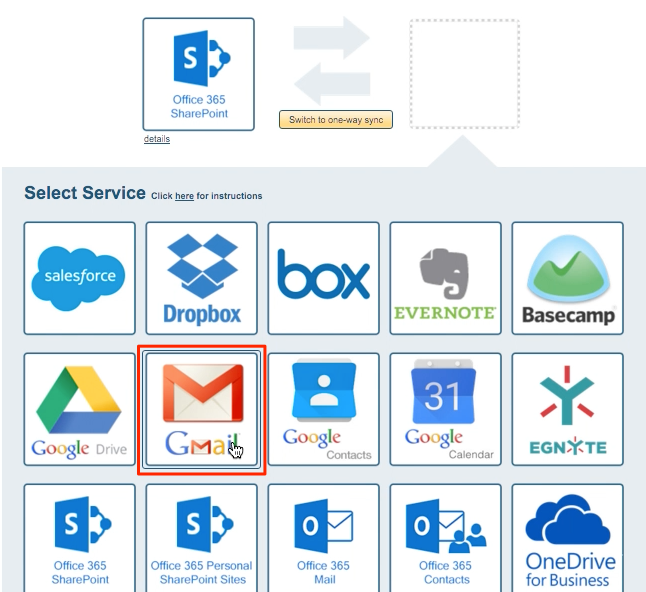
- Click the Gmail icon:
- Select an already-configured Gmail account or add a new Gmail account:
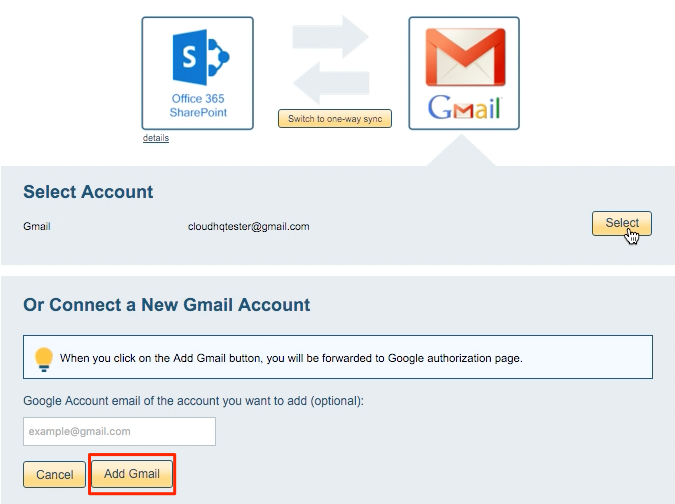
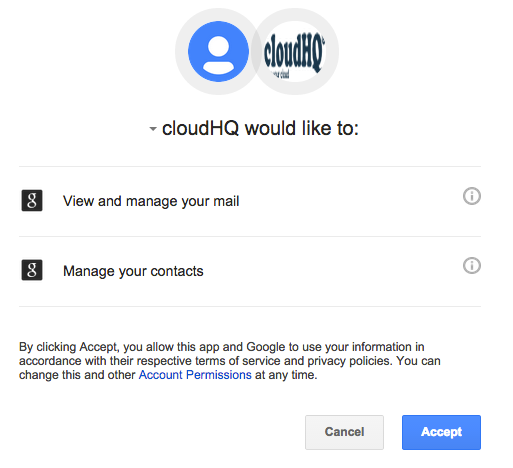
- If you click “Add Gmail,” you will be forwarded to authorize cloudHQ to access your account:
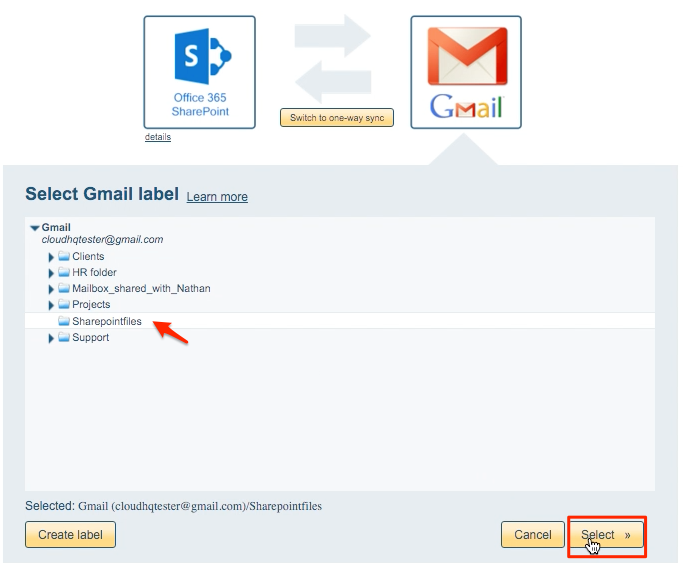
- Select the Gmail folder you want to sync with SharePoint or click “Create folder” for a new one:
- Choose your options. Synchronization starts automatically:

- The synchronization status will display after the initial synchronization.
- Here is How to Monitor Status of Sync.
- An email will confirm the success of the initial synchronization.