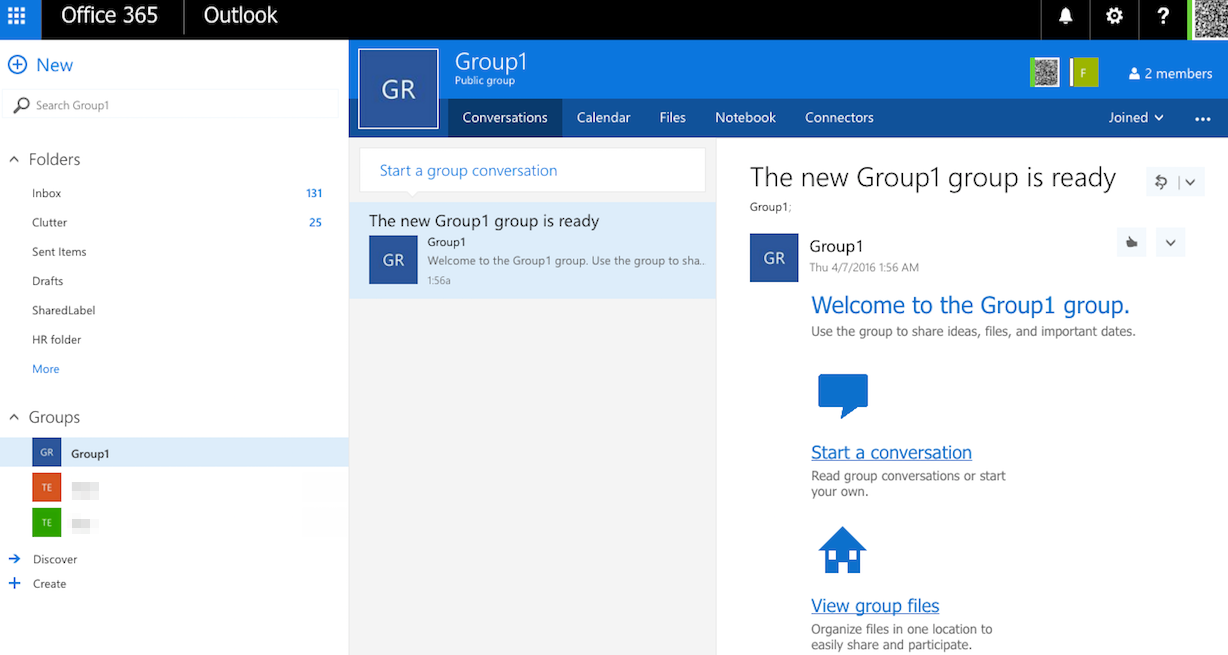
Office 365 has the Groups feature for collaboration. All files created in Office 365 have an owner and groups are just a shortcut for a set of users.
Lets suppose you have group Y. If user X creates a file and adds it to group Y, then all users accessing group Y will have this file:
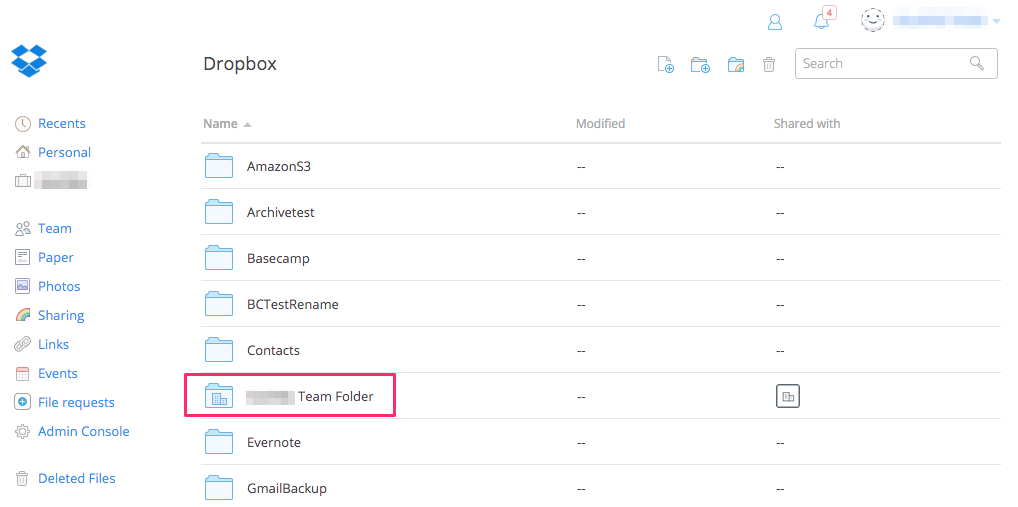
Dropbox for Business has a similar concept called Team folders:
Office 365 Preparation:
- Office 365 accounts have to be fully provisioned. cloudHQ will not provision Office 365 accounts on your behalf. This means that each of Office 365 user needs to login at least once to their Office 365 account (e.g. OneDrive for Business or Office 365 Sharepoint).
- The Office 365 admin needs to be added as an admin to users’ personal websites.
The instructions are here: Enable admin access to Office 365. - Please wait as it will take some time to propagate ownership changes.
Set up sync pair between an Office 365 Sharepoint Group folder and another cloud app
In this example, we will use Dropbox for Business. Here is the setup we suggest:
- Office365 Sharepoint (admin)/Group_site/Group_folder_1 -> Dropbox (admin)/Team_folder/ Team_folder_1
- Office365 Sharepoint (user1)/Group_site/Group_folder_1 -> Dropbox (user1)/Team_folder/ Team_folder_1
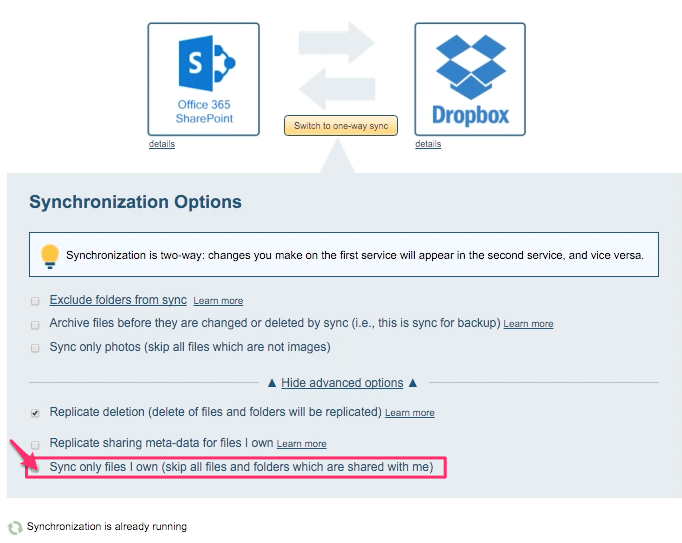
* Set “skip files shared with me” in option *
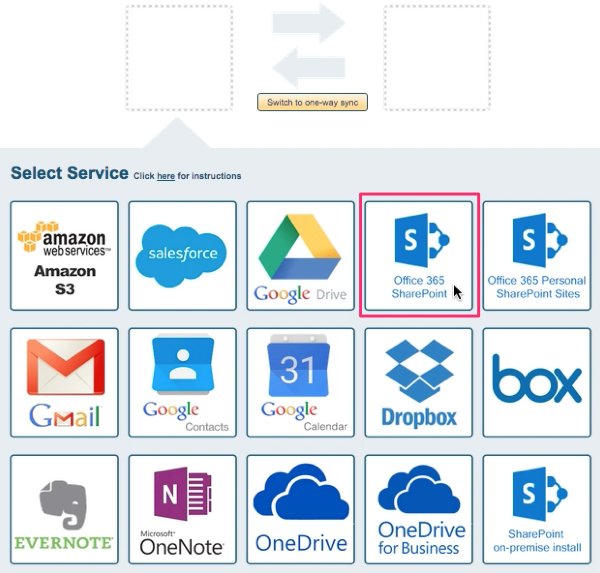
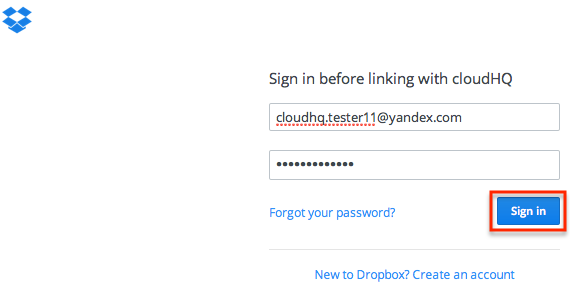
- Start the synchronization wizard to sync two cloud accounts.
- Click the Office 365 Sharepoint icon:
- Select an already-configured SharePoint account or click “Add SharePoint” to add a new SharePoint account:
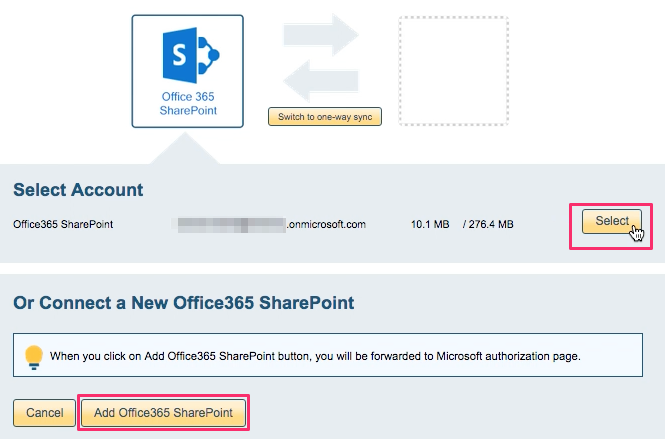
- If you click “Add SharePoint,” you will be forwarded to authorize cloudHQ to access your account:
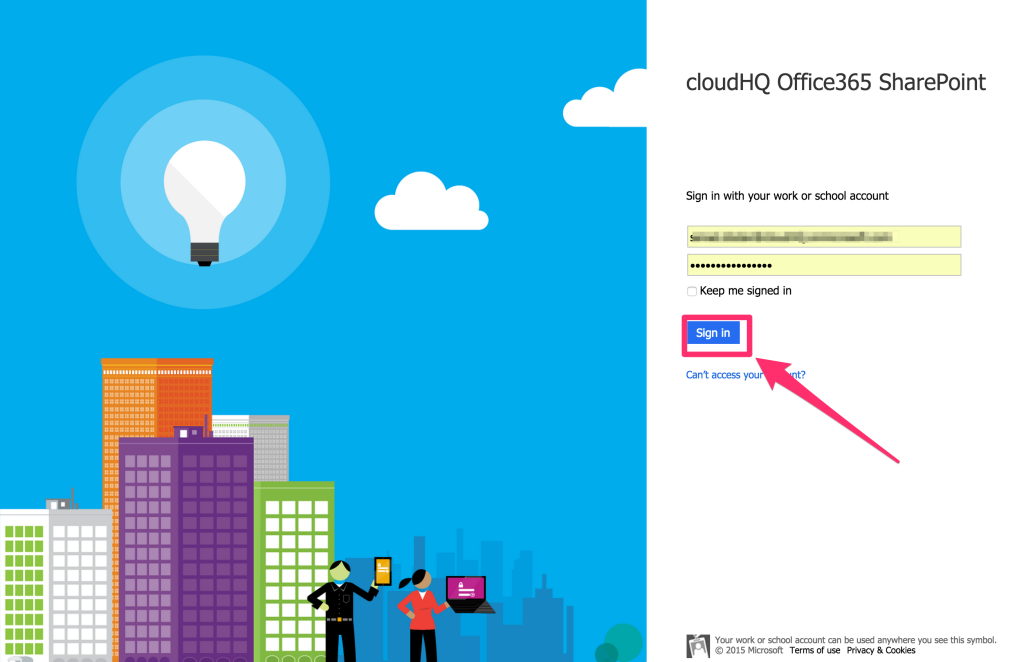
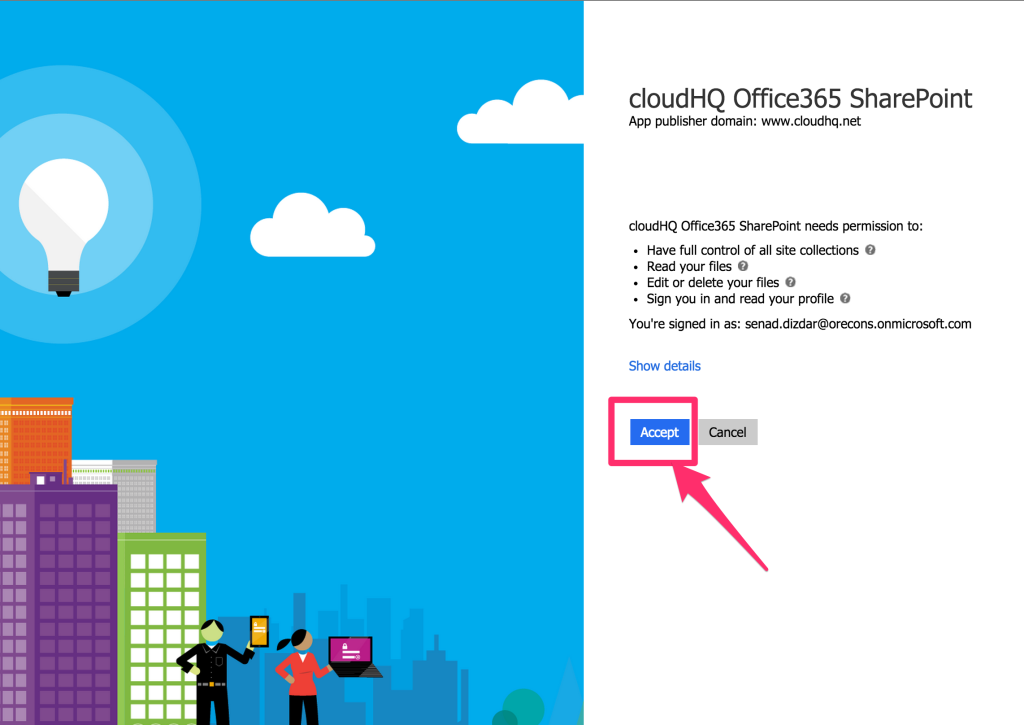
- Click “Accept” to authorize cloudHQ to access your account:
- Select the SharePoint Group folder you want to sync. Or click “Create Folder” to create a new one, then click “Select”:

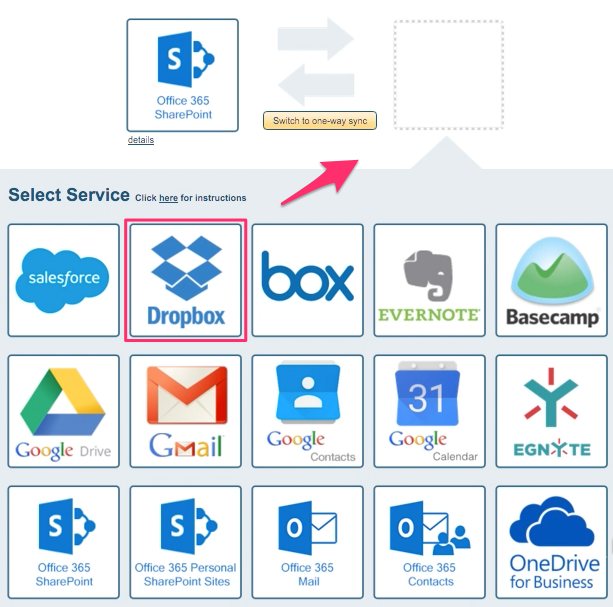
- Select the Dropbox icon:
- Select an already-configured Dropbox account or add a new Dropbox account:
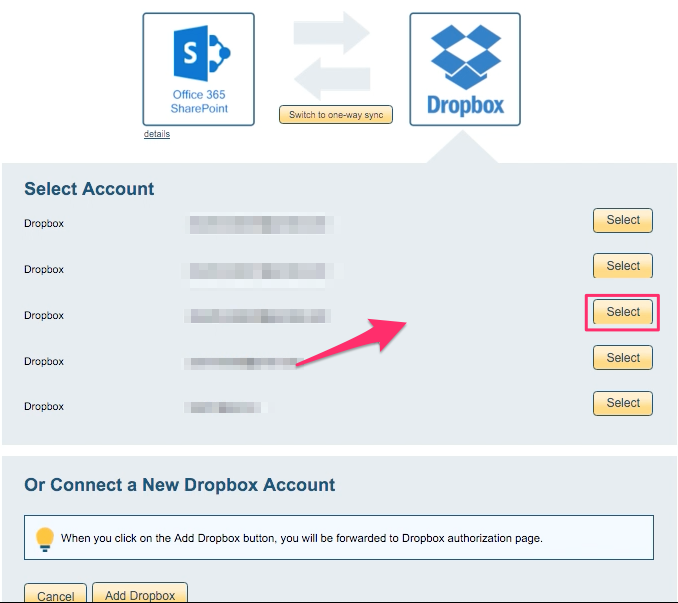
- If you click “Add Dropbox,” you will be forwarded to authorize cloudHQ to access your account:
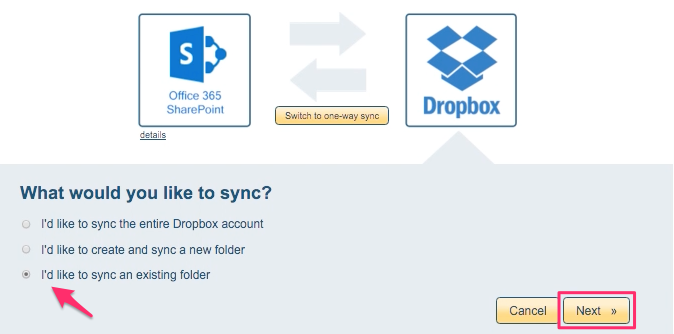
- Select an existing folder to sync, then click “Next”:
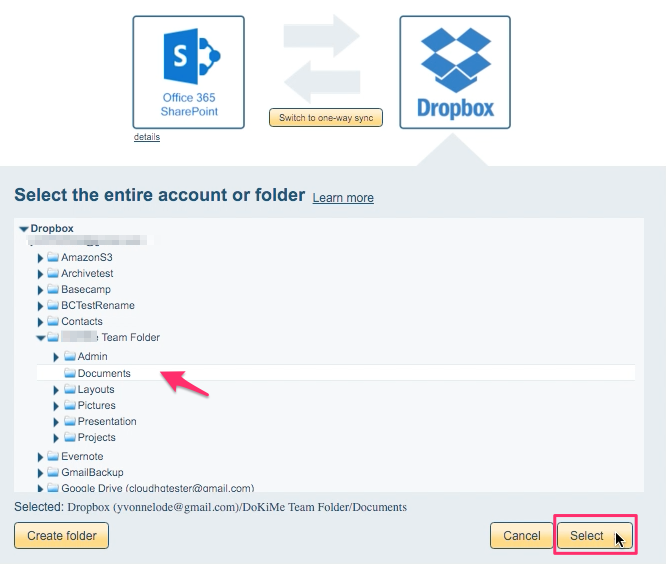
- Select the Dropbox folder, then click “Next”:
- Choose the option “Sync only files I own.” Synchronization will start automatically:
- The synchronization status will display after the initial synchronization.
- Here is How to Monitor Status of Sync.
- An email will confirm the success of the initial synchronization.
- Here is how to setup a sync pair of Office 365 Groups with another cloud app: