Here is how you can personalize and add your own branding to Meeting Scheduler‘s invite page:
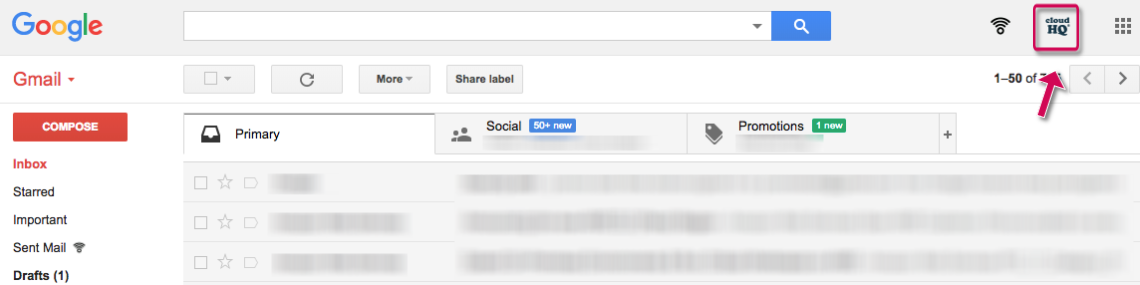
- In your Gmail, you should see a cloudHQ icon in the top right-hand corner:
- Click Go to Dashboard:

- Once you’re on your dashboard, you’ll see a list of the cloudHQ Chrome extensions you have installed. Click Meeting Scheduler for Gmail:

- Notice there’s a “Personalize Invite Page” button. Click it:

- Add your image by uploading it where it says “Choose File”:

- You can add your custom display message in the box labeled “Display text.”:

- You can also click on a color rectangle and choose your preferred colors from the color wheel. Make sure to save your changes by clicking on “Save Changes”:

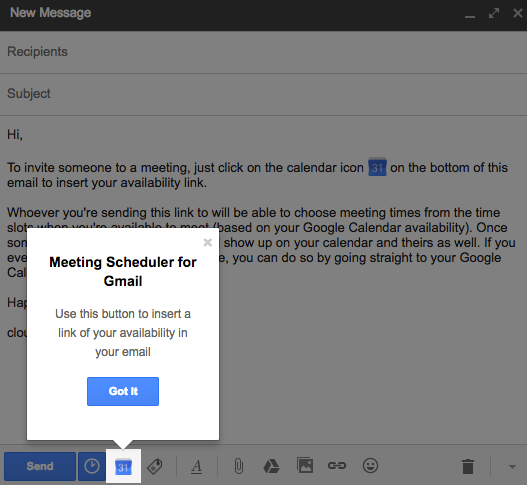
- Compose your email, and you can easily insert availability links directly from Gmail using the button: