cloudHQ can back up and archive all your Office 365 Mail accounts to the backup storage service of your choosing (your Google Drive, Dropbox, etc.).
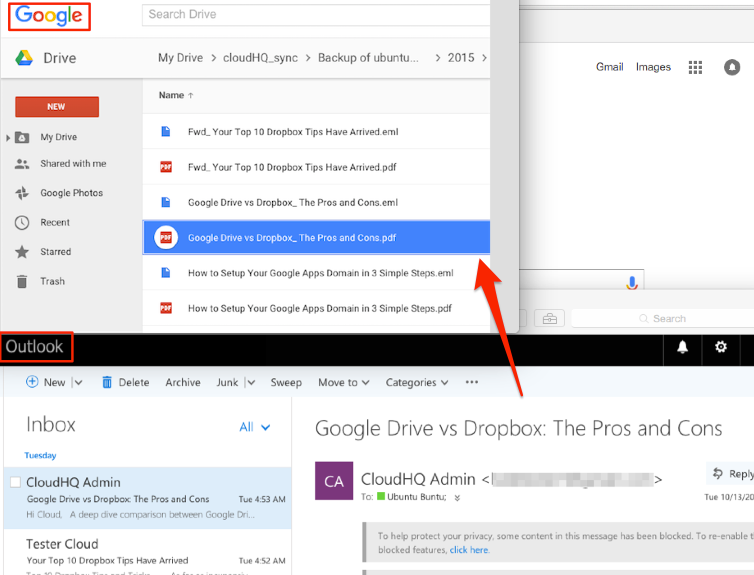
The setup is very simple (as explained below). Backup will organize as follows:
- cloudHQ_sync
  - Backup of <email of user1>
    - Backup of Office 365 Main (<email of user1>)
      -  year
         - month
           - day
             - email1
             - email2
               ...
  - Backup of <email of user2>
    - Backup of Office 365 Main (<email of user2>)
      -  year
         - month
           - day
             - email1
             - email2
               ...
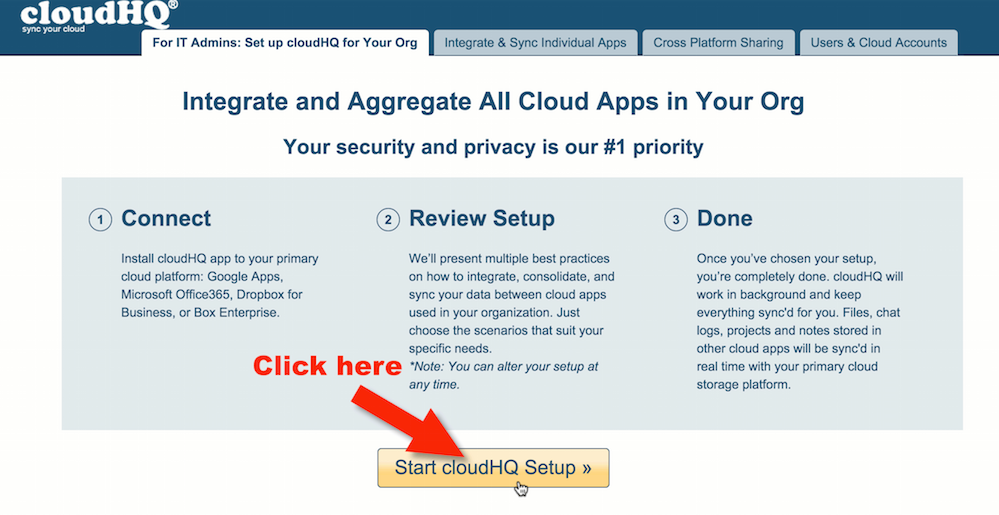
Here are the instructions for how to back up and consolidate all your Office 365 email accounts to your cloud storage (i.e., Amazon S3, SharePoint, Box, etc.):
- Click “Start cloudHQ Setup”:
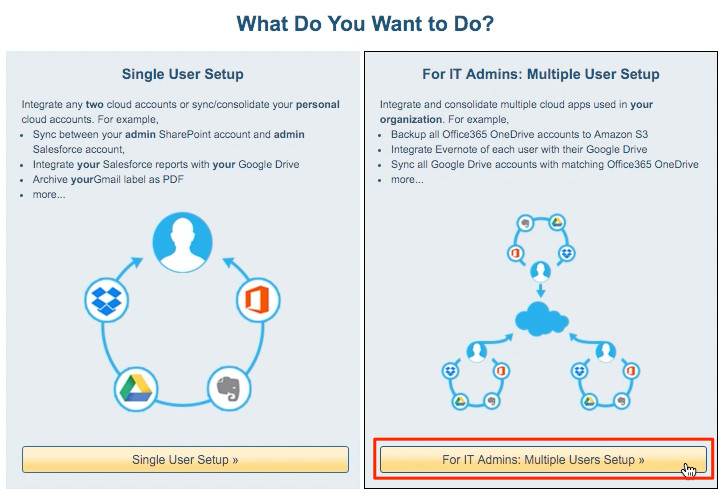
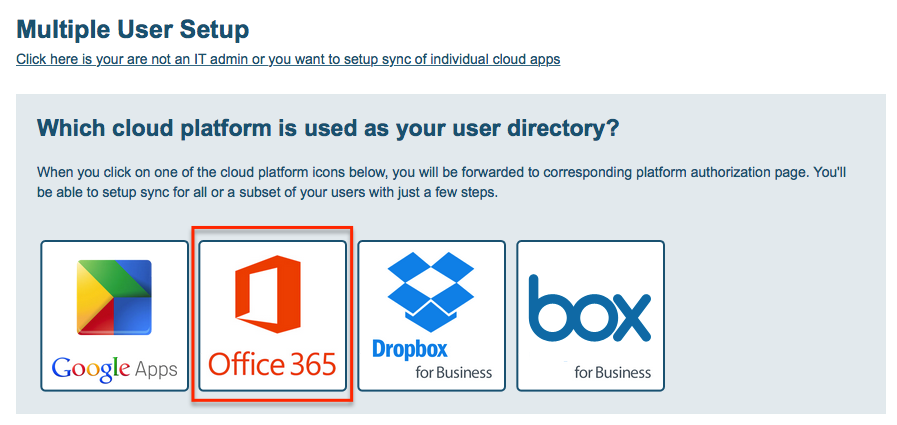
- Select “For IT Admins: Multiple Users Setup” as the type of sync:
- Select “Office 365” as your organization’s cloud platform:
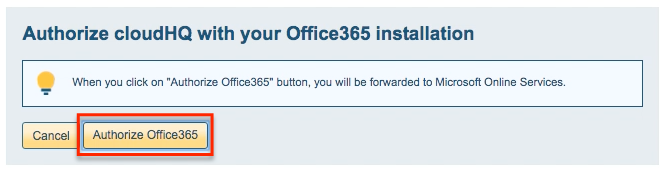
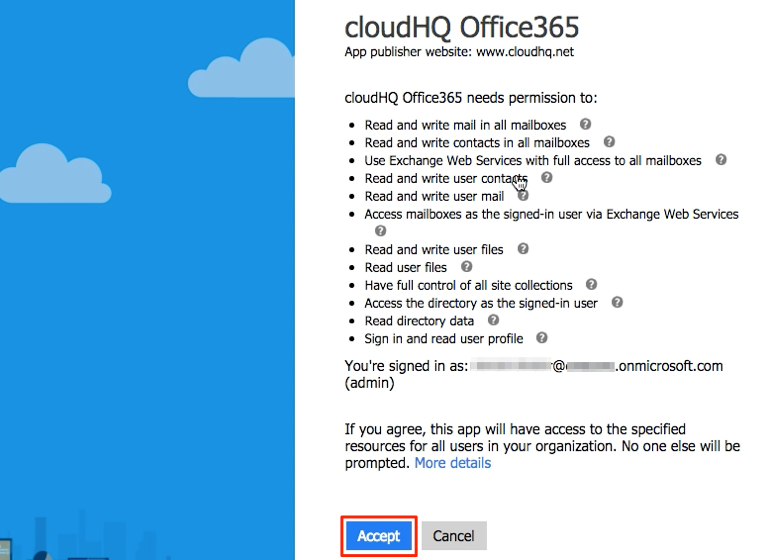
- Authorize your Office 365 account in cloudHQ:
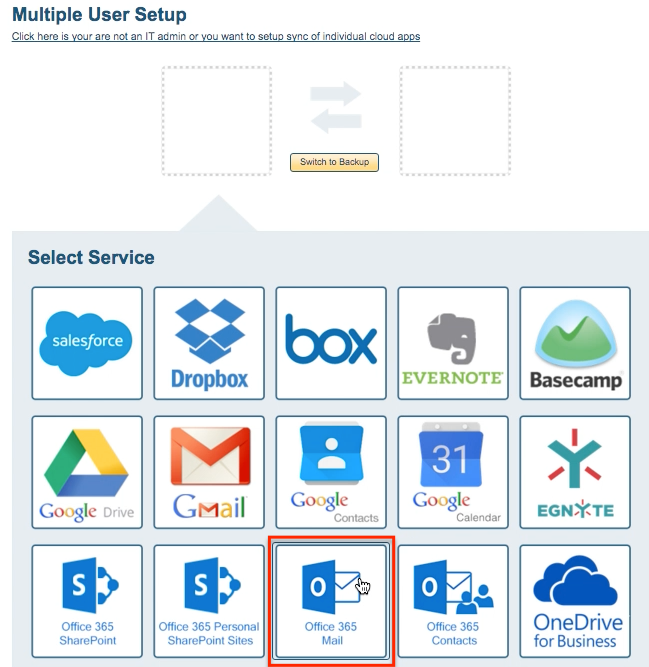
- Click the Office 365 Mail icon to choose the account you want to back up. You may also drag the icon to the left empty box:
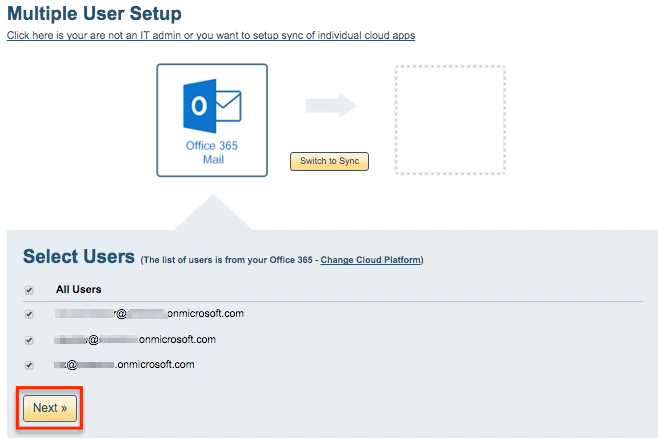
- Select the users whose apps you want to sync. cloudHQ will get list of users from your Office 365 accounts and ask you which user accounts you want to sync:
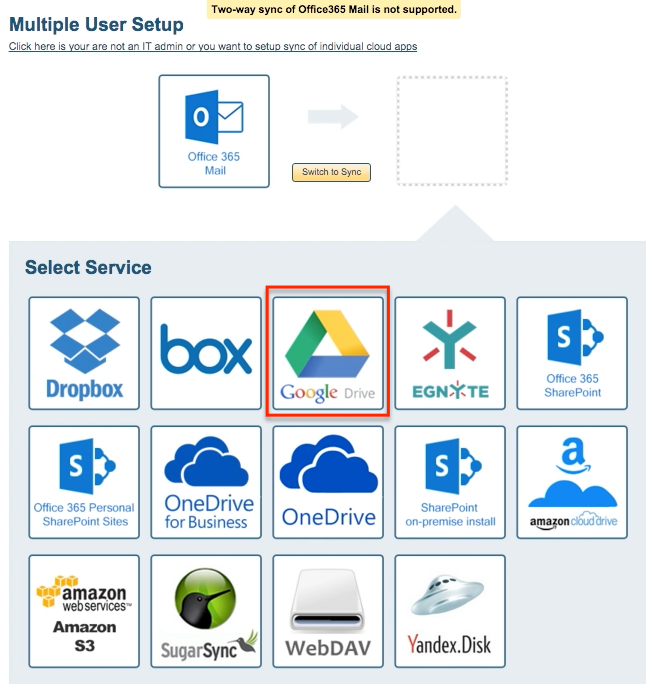
- Click the icon of the service where you want to host your backup or drag the icon to the right empty box (e.g. Google Drive):
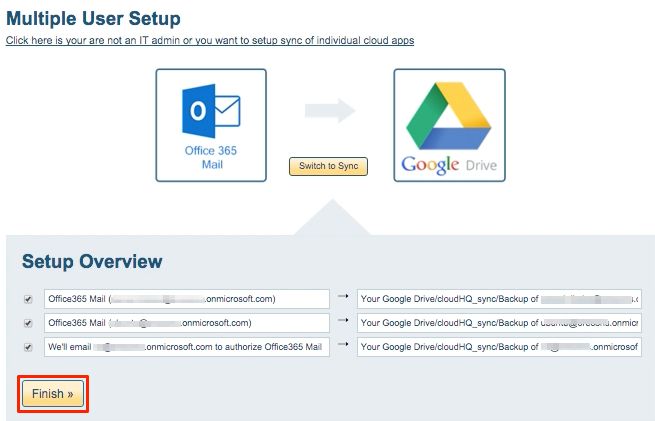
- Review created users’ sync pairs and click “Finish”:
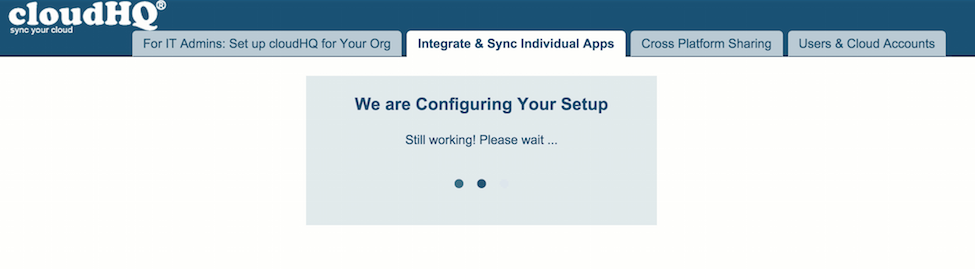
- Configuration will be done by cloudHQ:
- Synchronization pairs will be automatically done by cloudHQ:
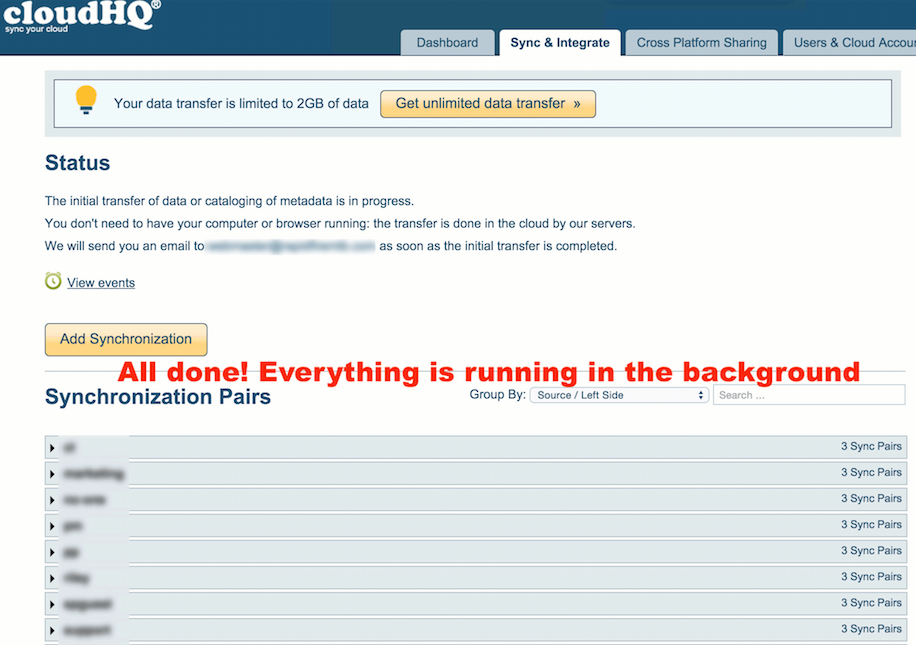
- Synchronization will start. Here is How to Monitor Status of Sync
- Once the initial transfer of data is finished, emails in Office 365 will be accessible as PDFs in Google Drive: