Here are short instructions for how to set up synchronization between Office 365 Sharepoint and Dropbox.
NOTE: Syncing Sharepoint accounts requires a cloudHQ Business Plan.
Here are the steps. Note that these steps will just authorize cloudHQ to have access to the necessary domain information to correctly replicate sharing information between them:
Install cloudHQ to your Office 365 domain :
- Go to the https://www.cloudhq.net/add_office365_authorization (or go to “Cloud Accounts” tab and click the Office 365 icon under “Add Your Organization’s Cloud Platforms”).
- After authorization is done, select your Office 365 admin user from the list of users and click “Add Selected Cloud Accounts”.
Install cloudHQ to your Dropbox for Business domain :
- Go to https://www.cloudhq.net/add_dropbox_business_authorization (or go to “Cloud Accounts” and click the Dropbox for Business icon under “Add Your Organization’s Cloud Platforms”)
- After authorization is done, select the user whose Dropbox account needs to be authorized in the list of users. Then click “Add Selected Cloud Accounts”.
Setup Sync pairs between Office 365 Sharepoint and Dropbox for Business :
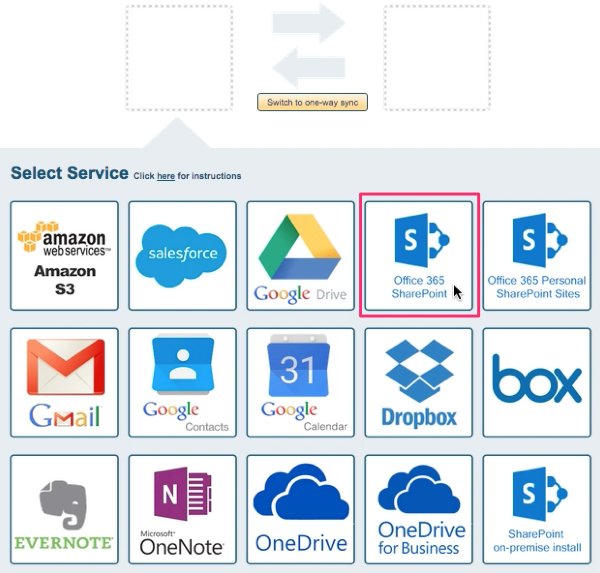
- Start the synchronization wizard to sync two cloud accounts:
- Click the Office 365 Sharepoint icon:
- Select one of the already-configured Sharepoint accounts or click “Add Sharepoint” to add a new Sharepoint account:
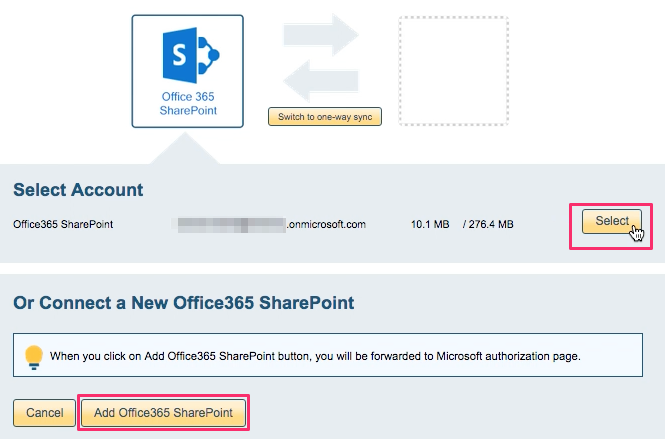
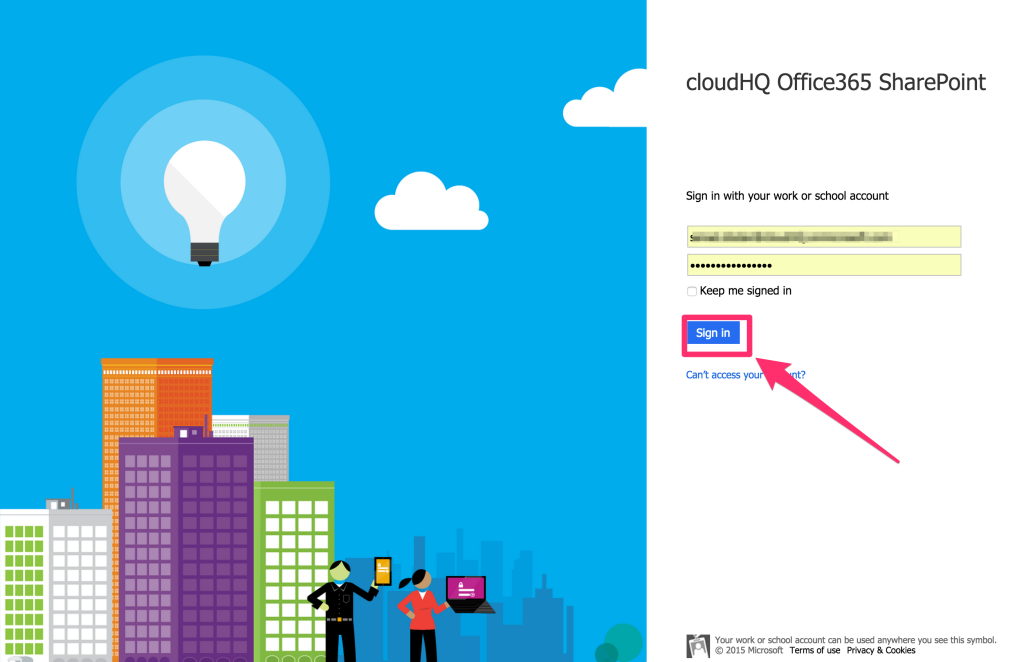
- If you click “Add Sharepoint,” you will be forwarded to authorize cloudHQ to access your account:
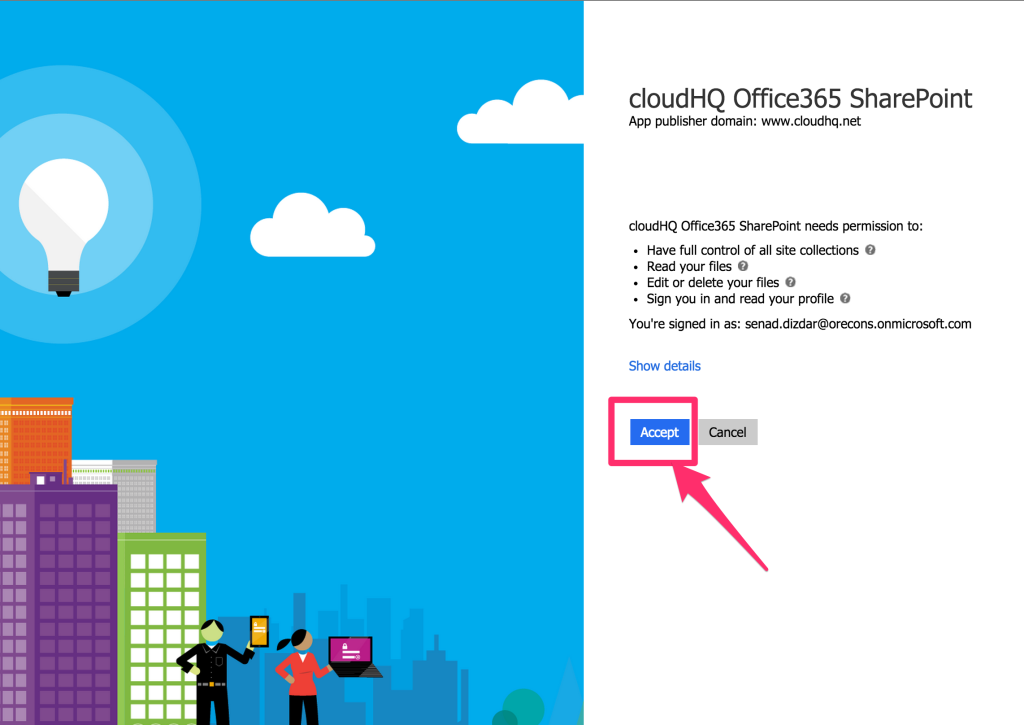
- Click “Accept” to authorize cloudHQ:
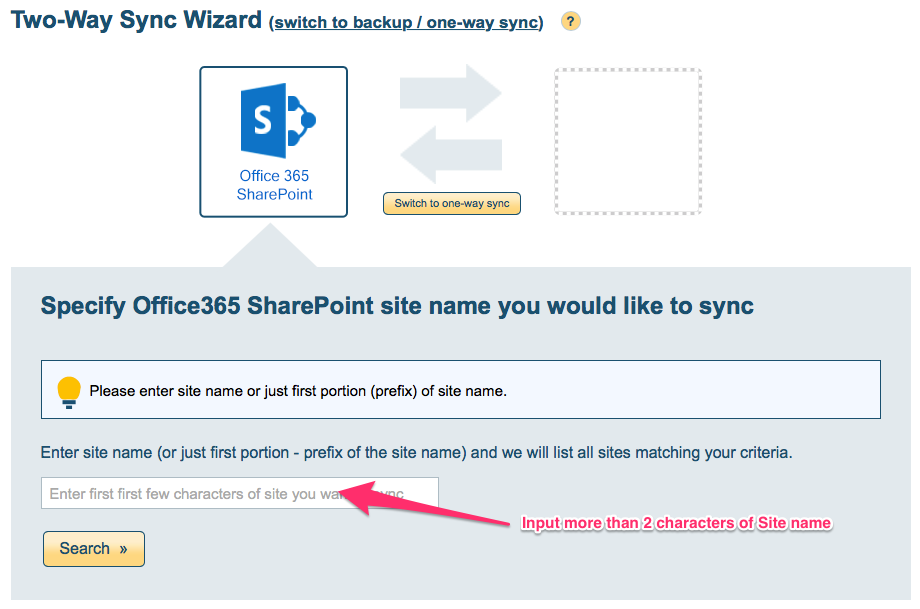
- Search SharePoint site you want to sync. Please type more than 2 characters of site name to search:
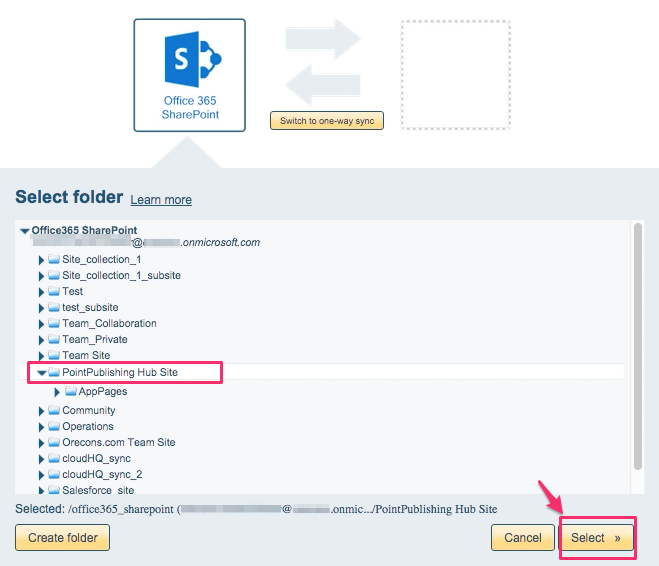
- Select the Sharepoint folder you want to sync or click “Create Folder” to create a new one. Then click “Select”.
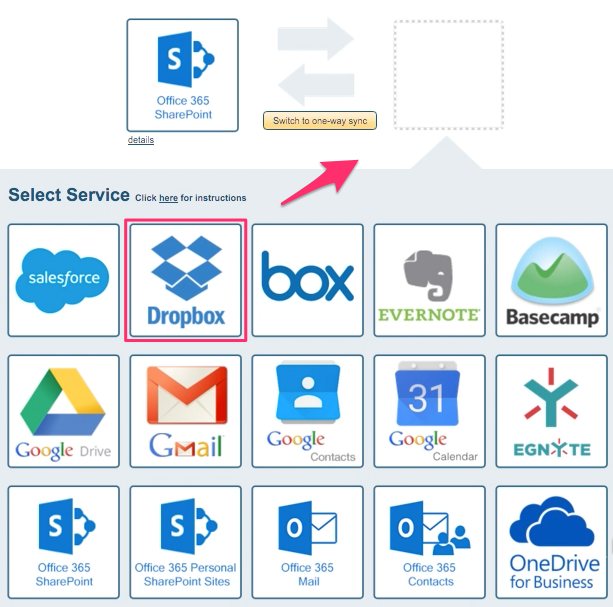
- Select the Dropbox icon to sync with Sharepoint:
- Select an already-configured Dropbox account or add a new Dropbox account:
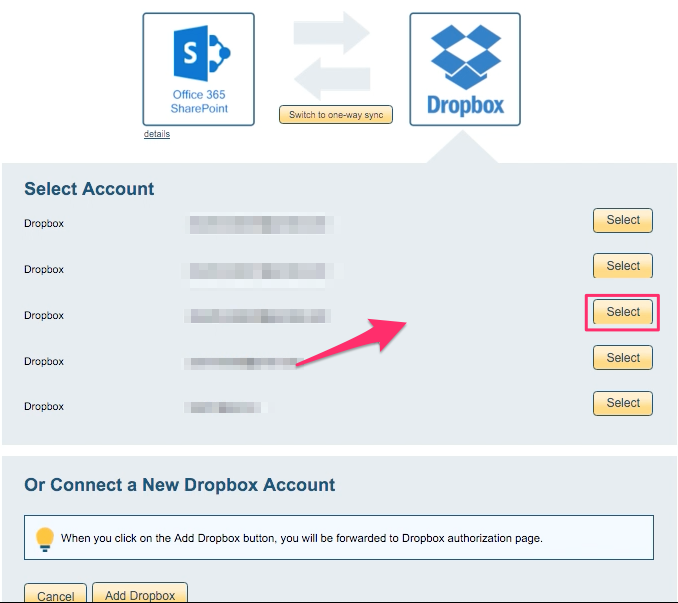
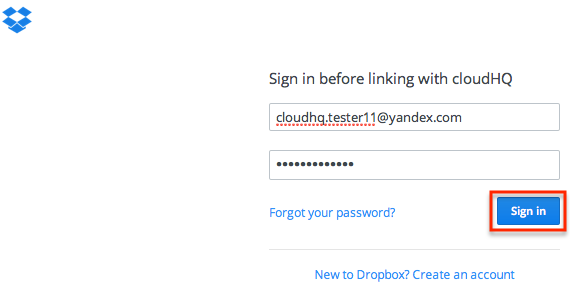
- If you click “Add Dropbox,” you will be asked to authorize cloudHQ in Dropbox:
- Select which Dropbox folder you want to sync. Then click “Next”:

- Choose your options. Synchronization starts automatically:
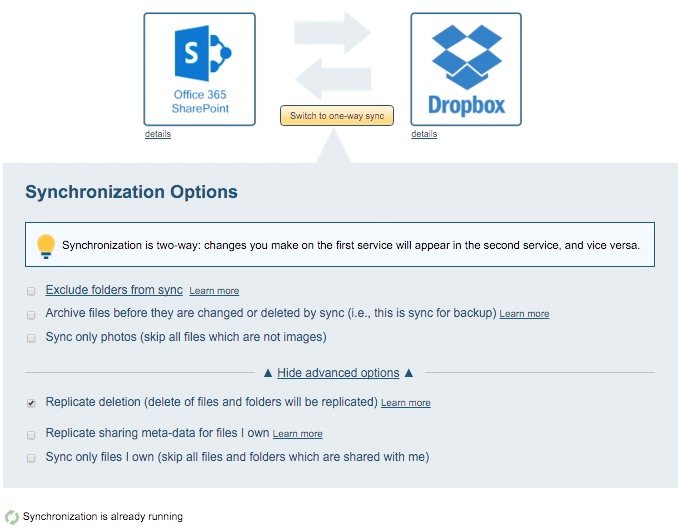
- The synchronization status will display after initial synchronization.
- Synchronization will start. Here is How to Monitor Status of Sync.
- An email will confirm the success of your initial synchronization.