NOTE: If you are looking to install the Multi Email Forward Chrome extension, please read Getting Started with Multi Email Forward.
cloudHQ Multi Email Forward is an extension for the Chrome browser that lets you quickly forward or migrate emails from one Gmail account to another. The migration is done 100% in the background and you don’t have to have your PC running at all.
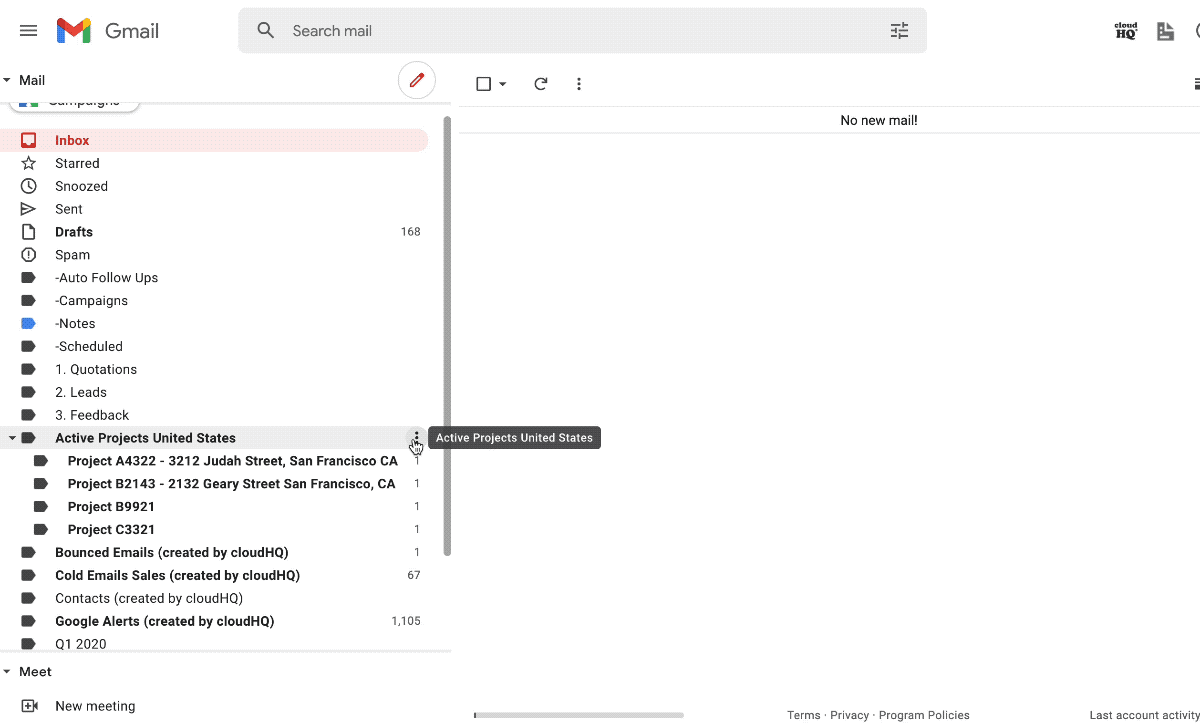
This support note explains how cloudHQ Multi Email Forward can be used to migrate all emails in a selected label. Simply follow the steps below.
- Select the label you want to migrate and then select Migrate all emails in the label:
- Input a destination email address for migration and press Enter or Tab so that the email is marked blue. Please note that you can only input one recipient at a time. Click Setup Gmail to Gmail Migration:

- You will be forwarded to the cloudHQ page – click on Authorize source Gmail accounts:

- Sign in into Google as a source account (e.g., if you are migrating from source@gmail.com, then sign in as source@gmail.com and confirm:


- After you authorize your source account, you will be forwarded to the cloudHQ page – click on Authorize target Gmail accounts:

-
Sign in to your Gmail target (destination) account (e.g., if you are migrating to destination@gmail.com, then sign in as destination@gmail.com):

- After the source account is authorized, Gmail migration sync pair will be created and you will see the following:

- If you want to check on the status of the migration, see the support note here: How to Monitor Status of Sync.
- You will receive an email to confirm the success of the initial migration.
Alternate approach
- Go to the label containing the emails that you want to migrate:

- Tick the Select box in the toolbar:

- Once all emails on the page have been selected, a message will appear asking if you want to select all conversations in the current label. Click on the message to do so:

- Click the Multi Email Forward button in the toolbar:

- Click on Migrate only emails matching the current filter:

- Input a destination email address for migration and press Enter or Tab so that the email is marked blue. Please note that you can only input one recipient at a time. Click Setup Gmail to Gmail Migration:
- You will be forwarded to the cloudHQ page – click on Authorize source Gmail accounts:
- Sign in into Google as source account (e.g., if you are migrating from source@gmail.com, then sign in as source@gmail.com and confirm:
- After you authorize your source account, you will be forwarded to the cloudHQ page – click on Authorize target Gmail accounts:
-
Sign in to your Gmail target (destination) account (e.g., if you are migrating to destination@gmail.com, then sign in as destination@gmail.com):
- After the source account is authorized, Gmail migration sync pair will be created and you will see the following:
- If you want to check on the status of the migration, see the support note here: How to Monitor Status of Sync.
- You will receive an email to confirm the success of the initial migration.