Here are quick steps to accept access to a shared label:
Accepting a share from an email:
Note: Make sure you’re logged into your own email account:
- Go to your email.
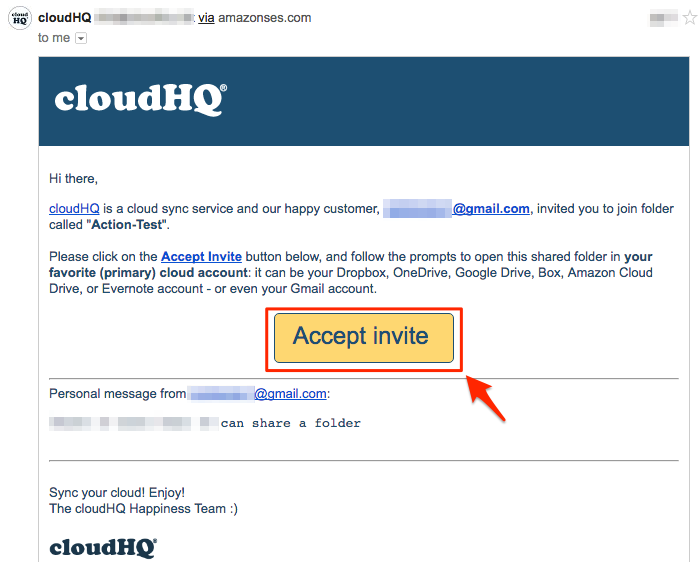
- Open the invitation email and click “Accept Invite”:

- Create a cloudHQ account if prompted.
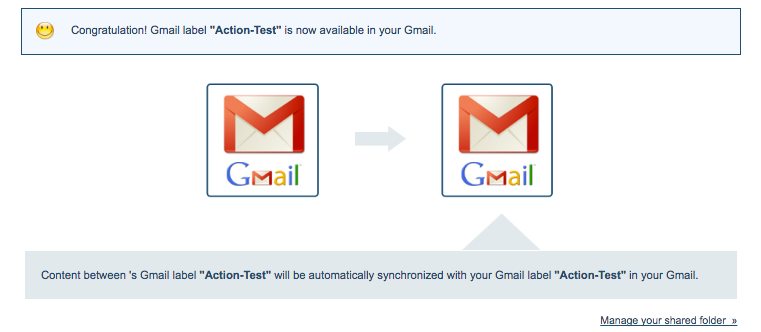
- The shared data will sync automatically, and the owner will get an email:

Accepting a share from the cloudHQ website:
If you already have a cloudHQ account, accept the share by logging into the cloudHQ website.
- Go to the Share tab.
- Click the dropdown for the shared folder labeled “Waiting for your response”:

- Click “Accept” to approve the shared folder:

- Once accepted, sync the shared folder with your preferred cloud service.