NOTE: This article explains how to create an email list using Email List Builder by cloudHQ. For instructions on creating an email list with the extension Export to Google Sheets, Excel, or CSV, click here.
Email List Builder creates a self-updating email list from the contacts that have passed through your inbox and your sent mail over the past 9 years. Parsing your Gmail data, the extension organizes information on your contacts into over 20 columns. Use Email List Builder to improve your marketing, personalize your mass emails, and own your data.
Email List Builder creates a spreadsheet with the following columns for each contact:
- Email Address
- First Name
- Last Name
- Full Name
- Bio
- Location
- Personal Website
- Date of last email sent to the contact
- Link to last email sent to the contact
- Number of emails sent to the contact
- Awaiting reply from the contact? (Yes/No)
- Date of last email received from the contact
- Link to last email you received from the contact
- Number of emails received from the contact
- Not replied to the contact? (Yes/No)
- Company name
- Role at company
- Company website (URL)
- LinkedIn profile (URL)
- Facebook profile (URL)
- Twitter profile (URL)
How do I get started?
To create your email list Google sheet, follow these steps.
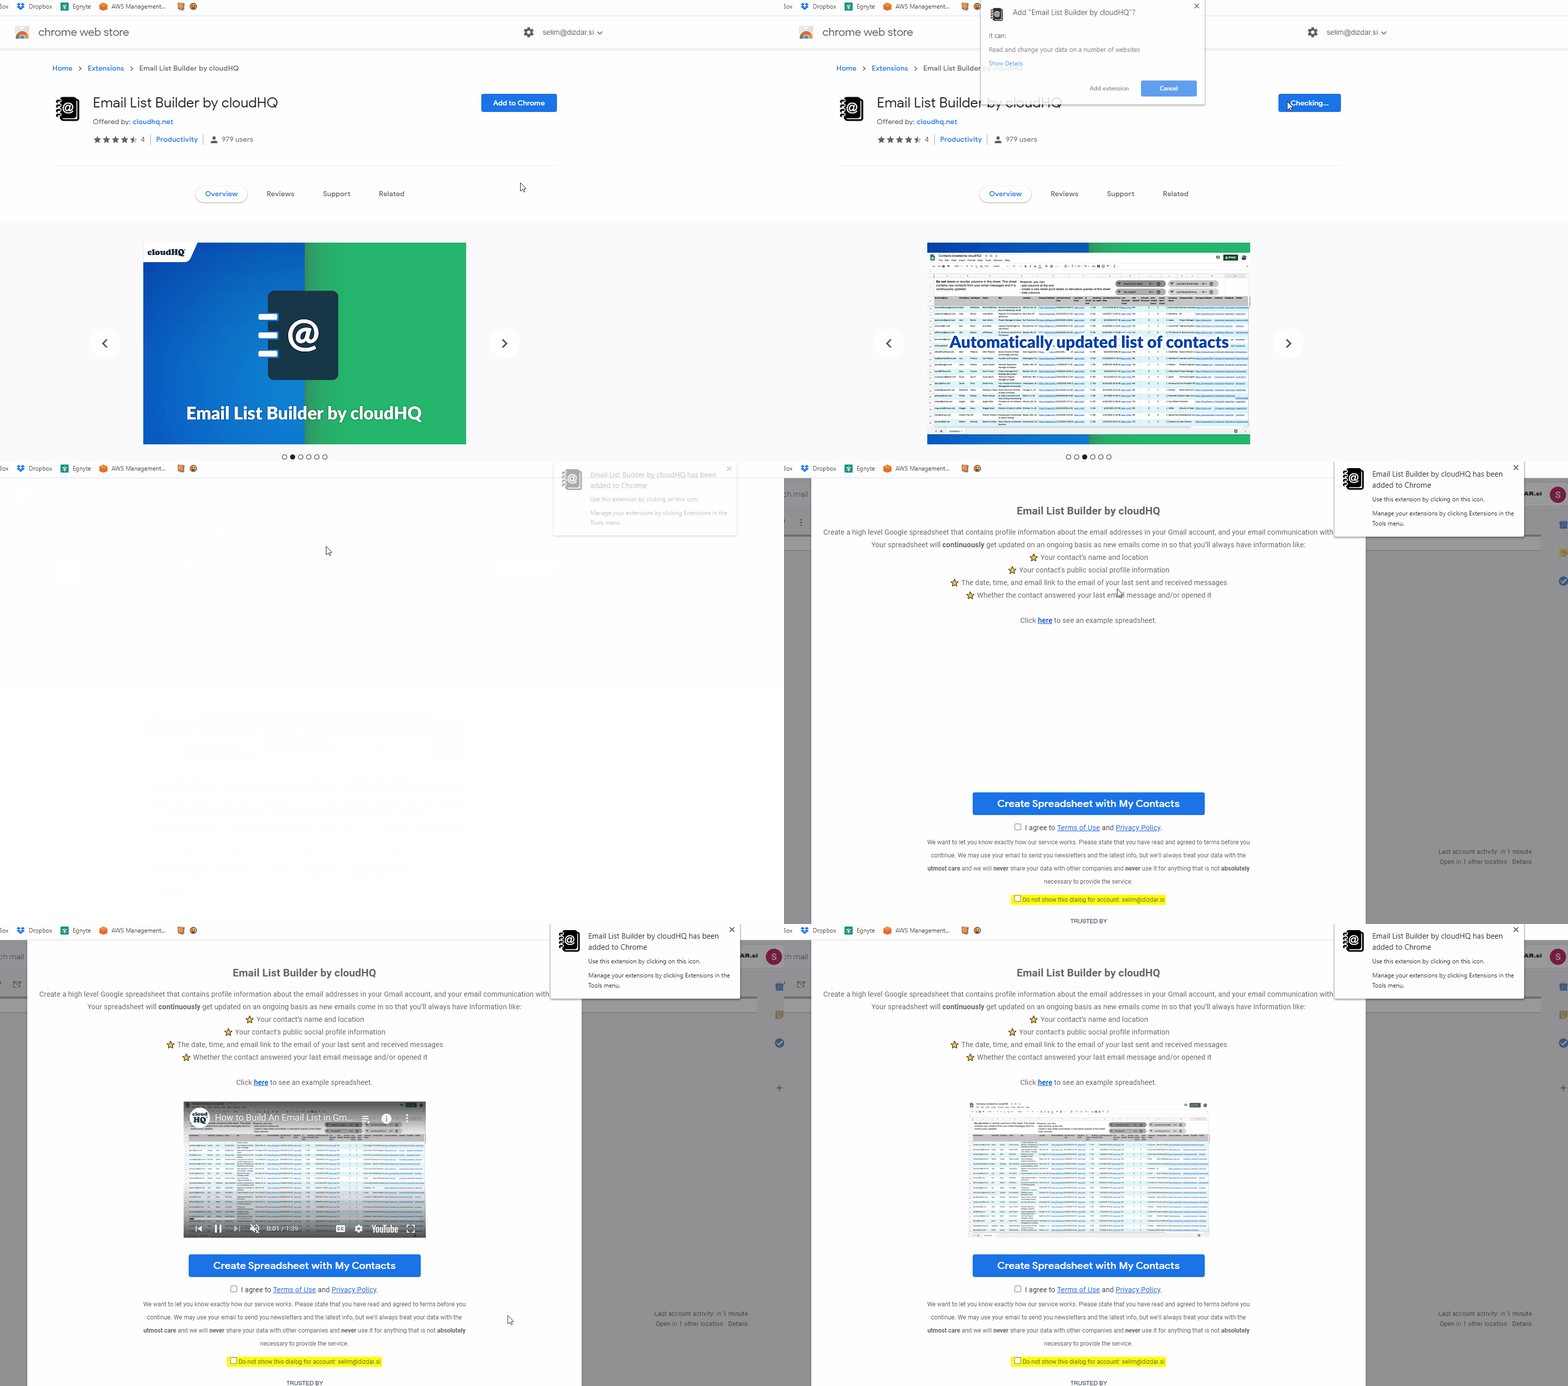
- Install Email List Builder here by clicking Add to Chrome:

- When you open Gmail, you’ll see a dialog box appear, explaining the extension. Click Create Spreadsheet with My Contacts.

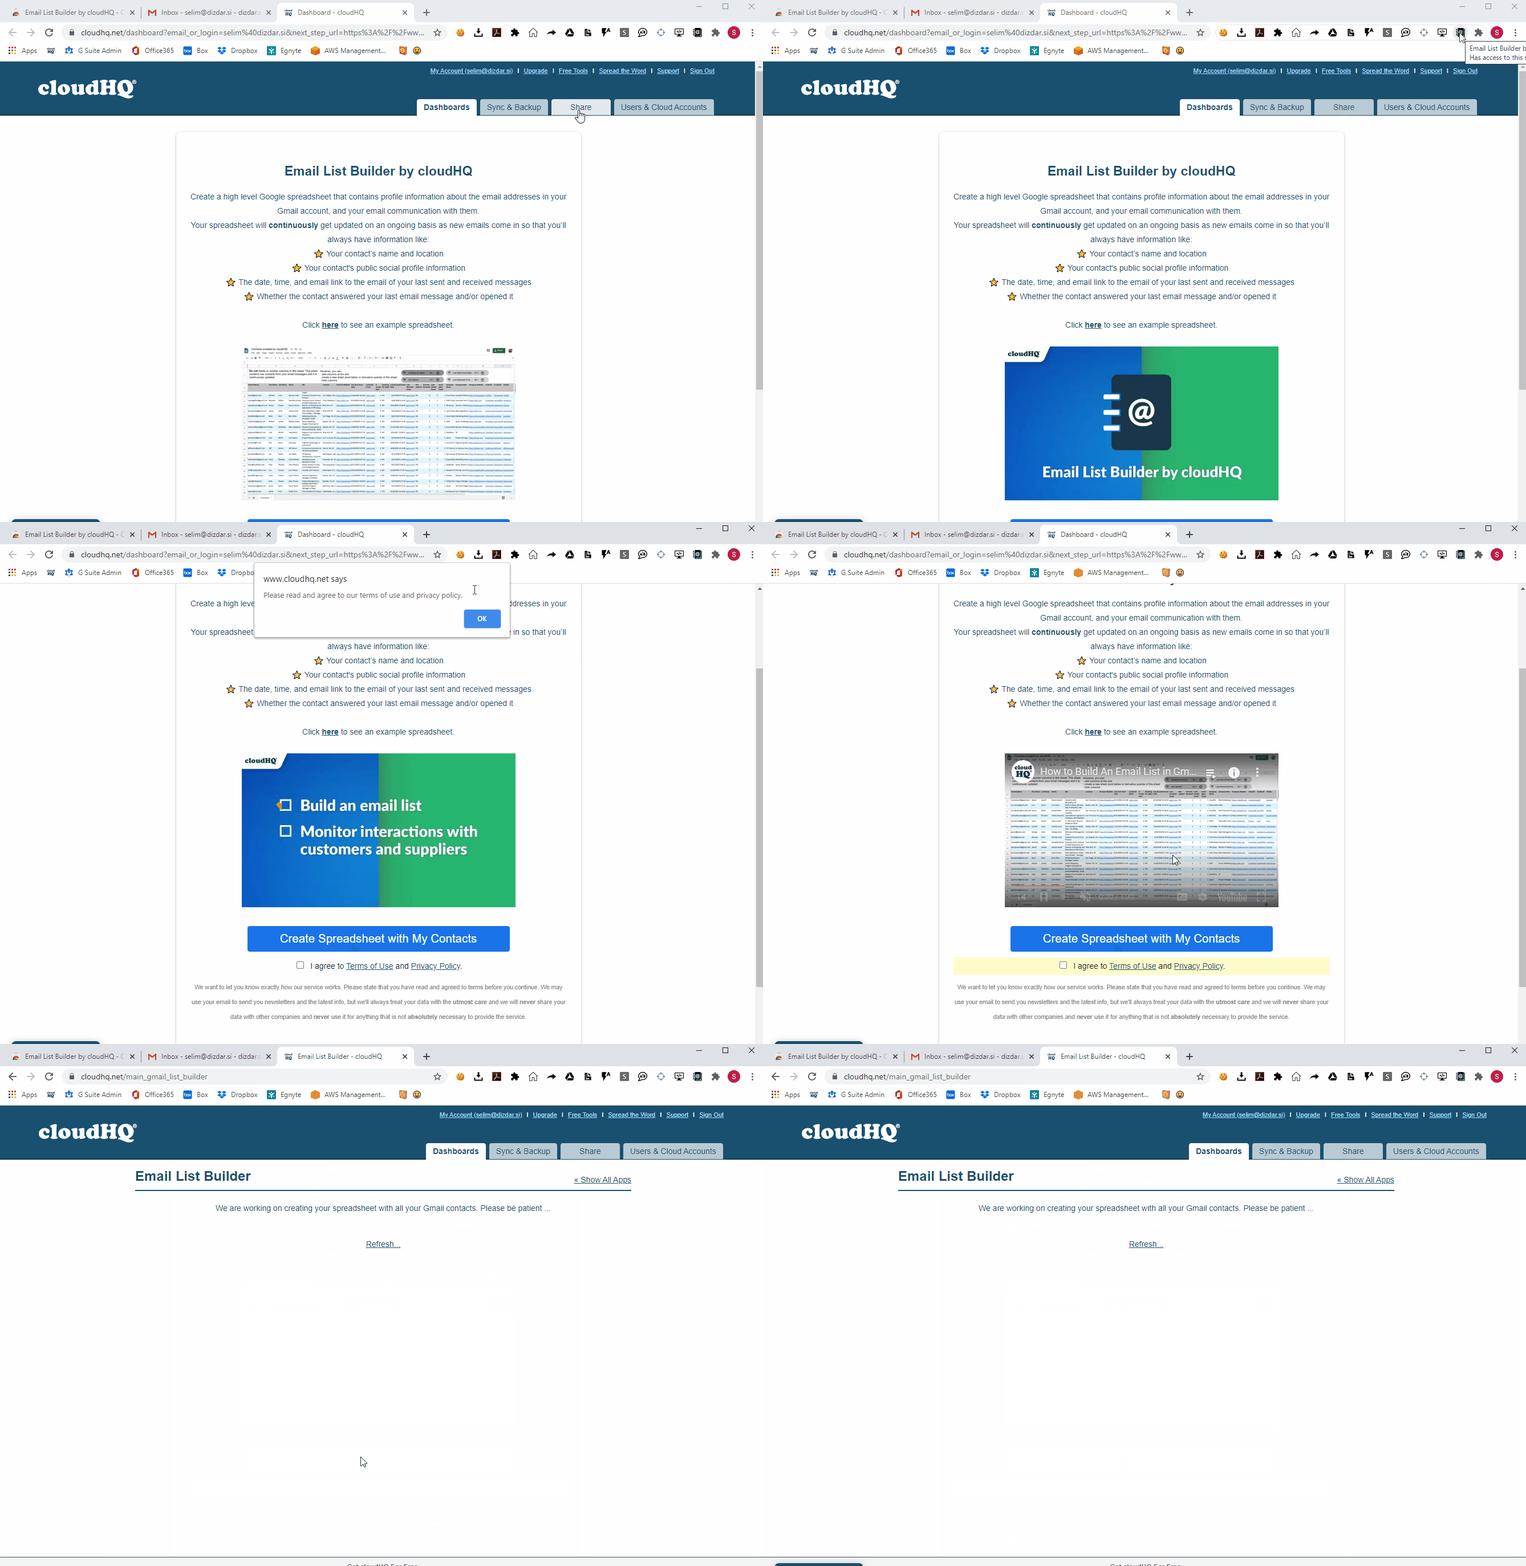
- You’ll be directed to your cloudHQ dashboard, where your export will be processing. When your spreadsheet is finished, you’ll receive an email from cloudHQ confirming the successful export of your data. Click the link:

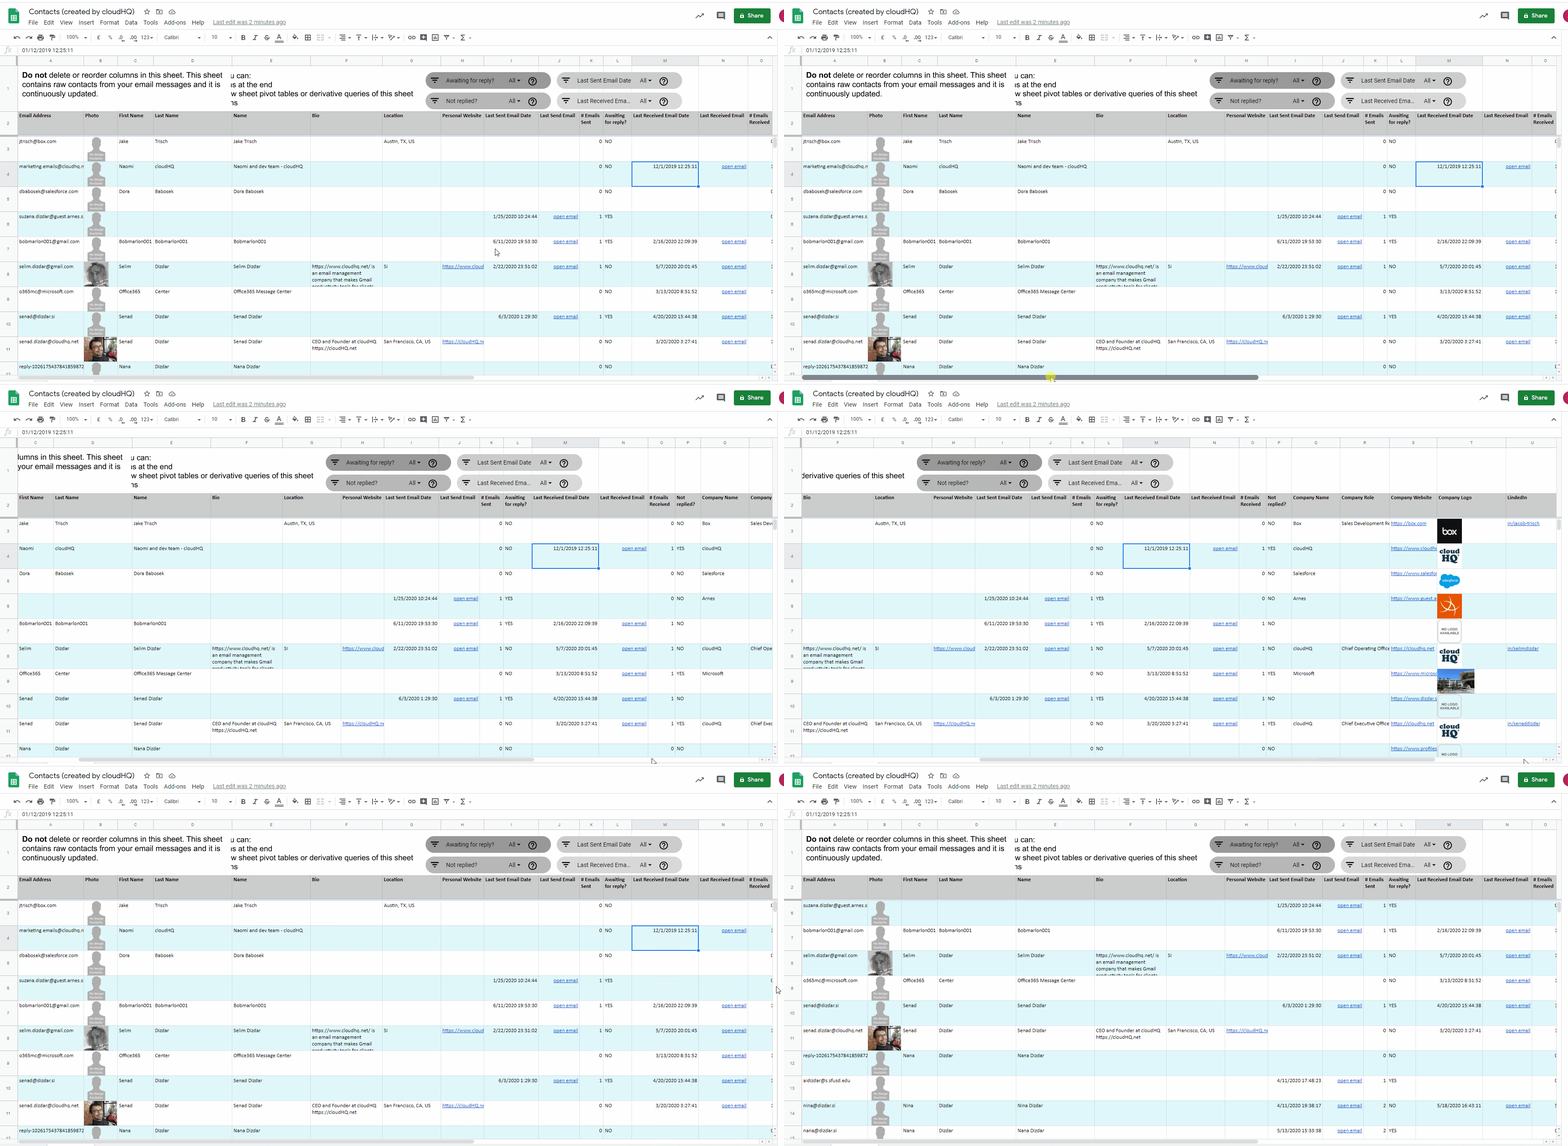
- Your new spreadsheet will open, complete with a list of all your contacts and their information:

Note: do not delete or reorder the columns on this spreadsheet.
However, you can:
- Add columns to the end of the spreadsheet
- Create pivot tables or derivative queries from the data
- Hide columns