An illustration of how this is done can be seen at the Salesforce website here:
https://help.salesforce.com/apex/HTViewHelpDoc?id=content_initialsetup.htm&language=en_US.
Here are the instructions for how to do it:
-
Enable Salesforce CRM:
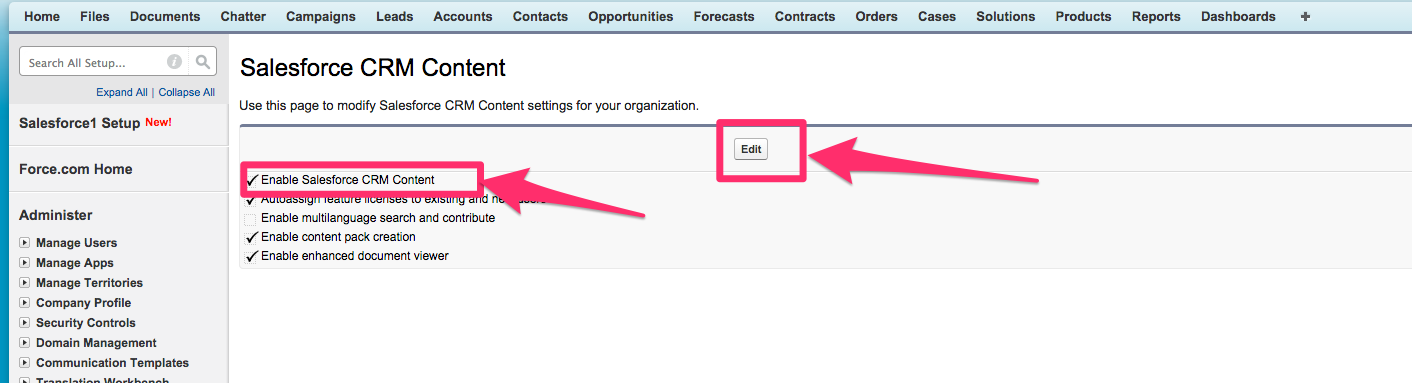
- Go to Customize | Salesforce CRM Content | Settings and select Enable “Salesforce CRM Content”

- On the right side, click Edit, then select “Enable Salesforce CRM Content”:
- Manage Salesforce CRM Content
- Create Libraries
- Manage Content Permissions
- Manage Content Properties
- Manage Content Types and
- Deliver Uploaded Files and Personal Content
- Go to users
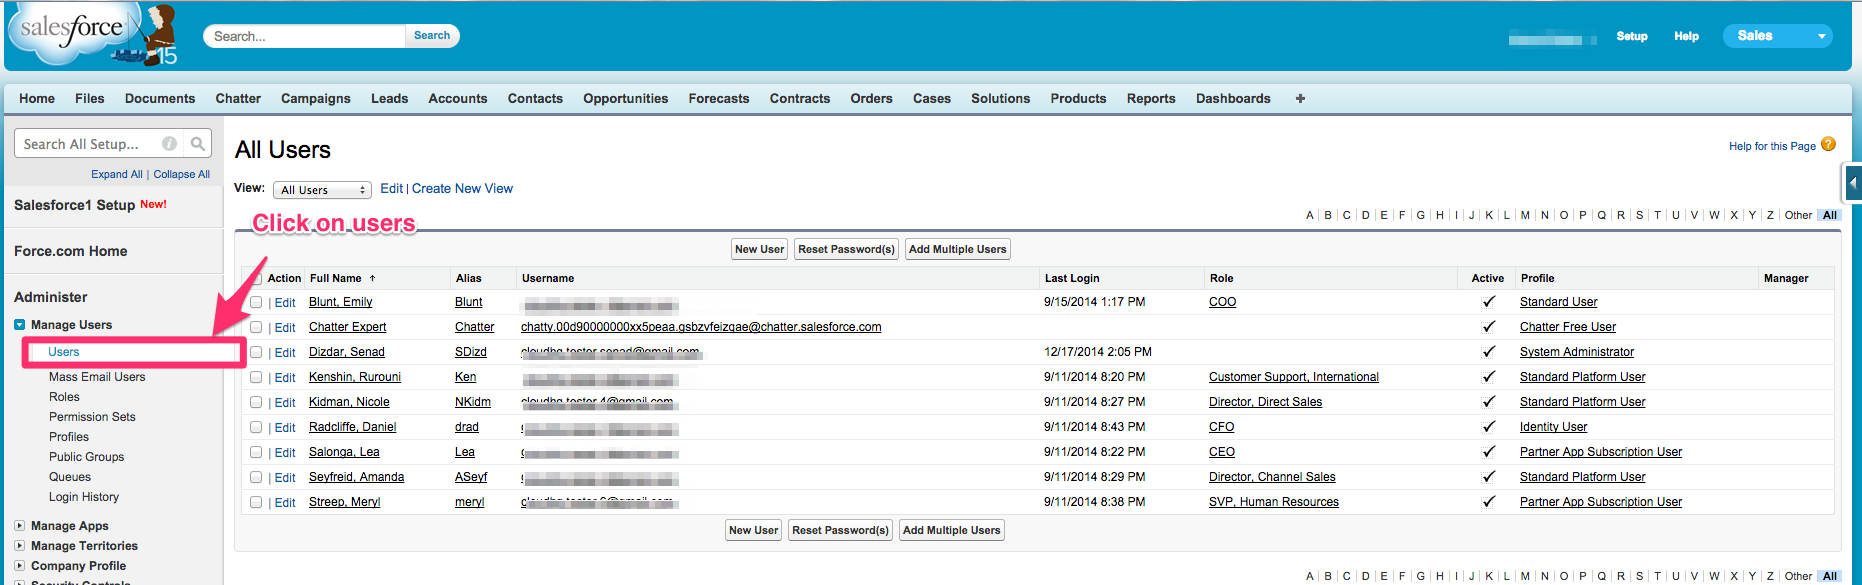
- Click the profile of the user (If this user is an admin, then the profile name should be “System Administrator”
- Scroll down under “Administrative Permissions” to find and enable “Manage Salesforce CRM Content”:

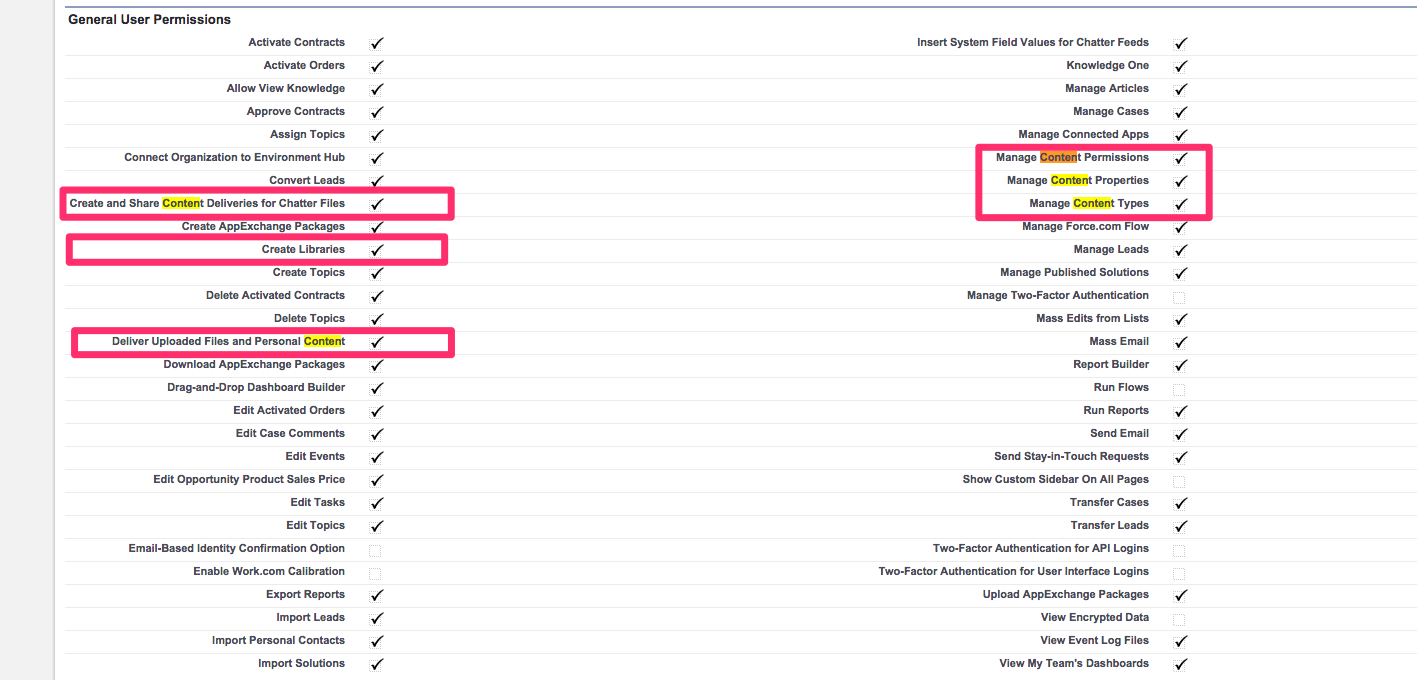
- Scroll down under “General User Permissions” to find and enable “Create Libraries,” “Manage Content Permissions,” “Manage Content Properties,” “Manage Content Types,” and “Deliver Uploaded Files and Personal Content”:
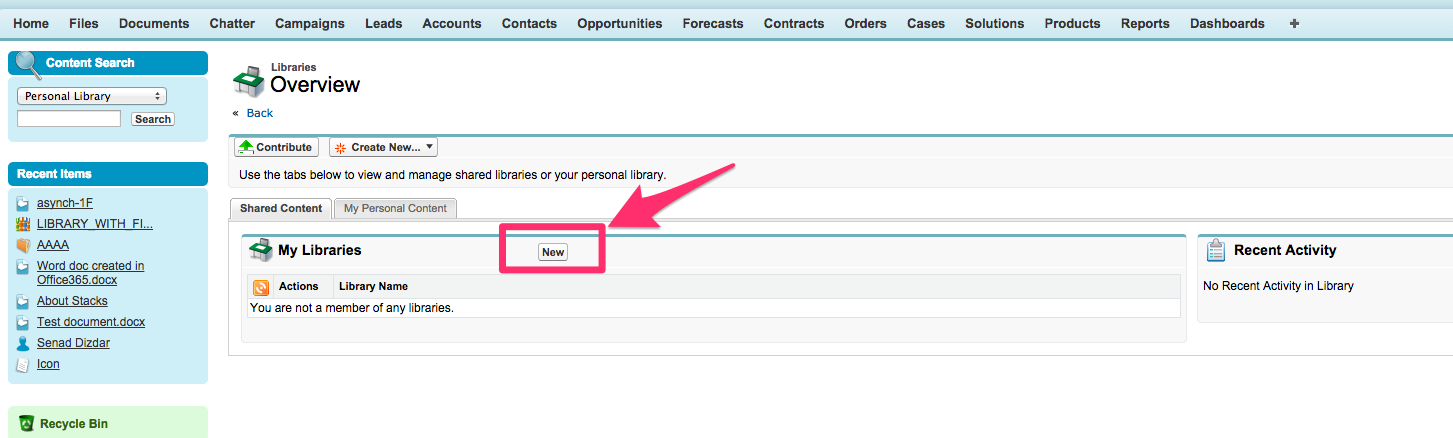
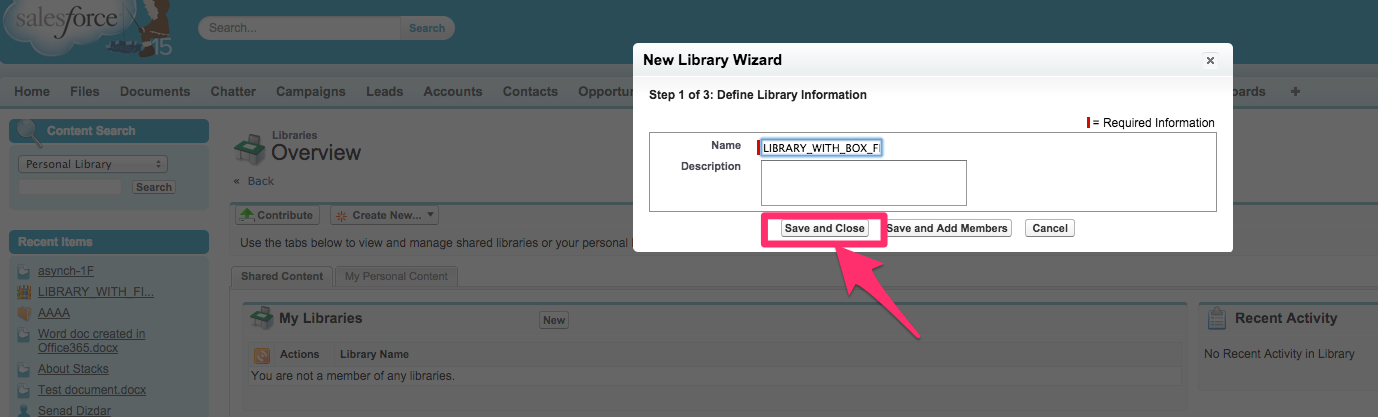
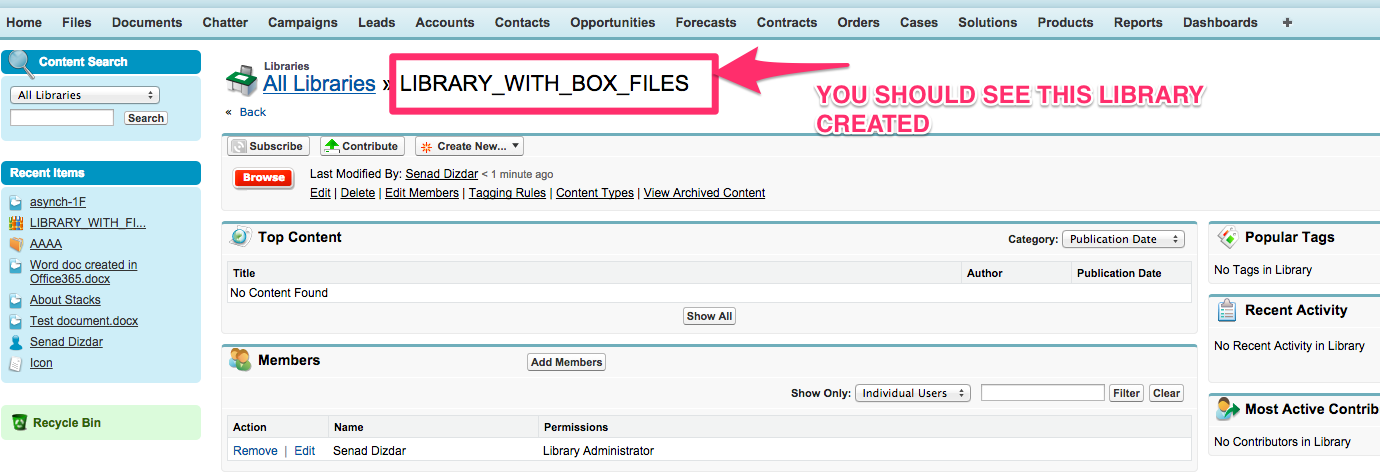
- Go to your Salesforce “Libraries” tab. Create a new library for the files from your Box folder:
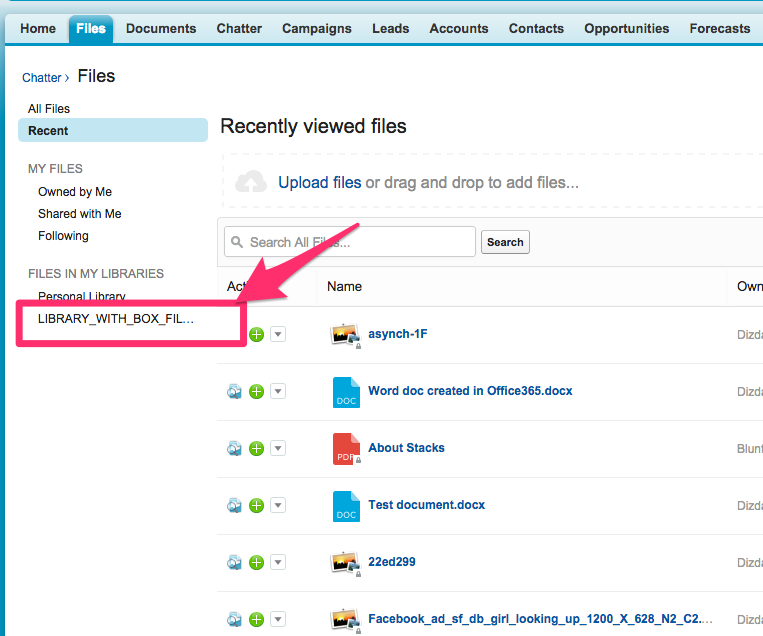
- Then go to “Files” tab. The new library should be on the left side:
- Sync Salesforce by clicking this wizard
- Here are instructions for how to set it up:
The profile of the user doing the sync should have the following permissions enabled:
Check that everything is ok in Salesforce:
After the library has been created, you can create the sync pair.
NOTE: You must have a Salesforce Business/Enterprise Plan to sync using cloudHQ.
https://www.cloudHQ.net/sync/salesforce/box