Here are instructions for how to add multiple Evernote accounts when using cloudHQ’s Premium Plan.
NOTE: If you have a cloudHQ Business Plan, you can add Evernote accounts using the cloudHQ invite mechanism. This will allow you to manage other users’ Evernote accounts without asking them for their Evernote password.
Let’s assume you want to add two Evernote accounts to cloudHQ.
Here is the procedure:
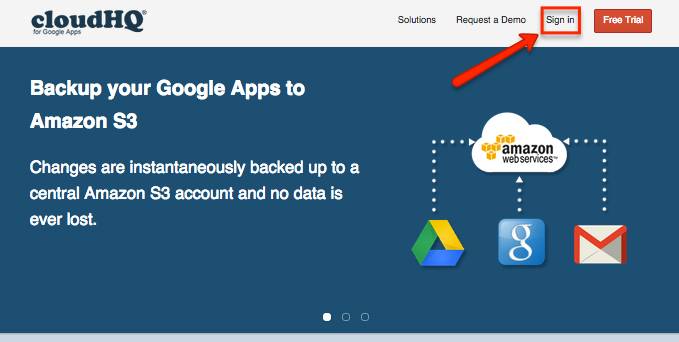
- Log into cloudHQ.net:
 <
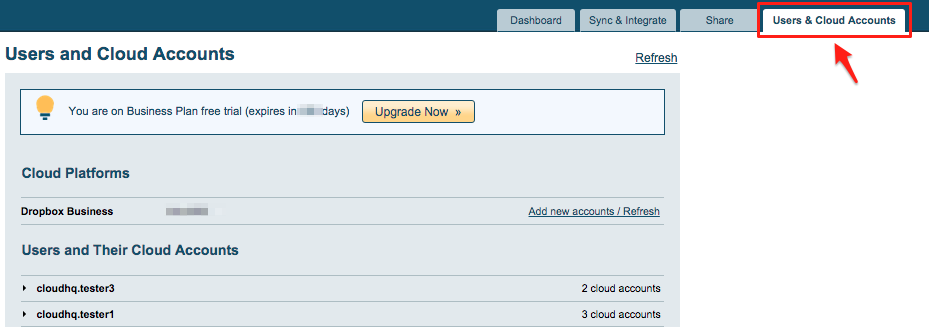
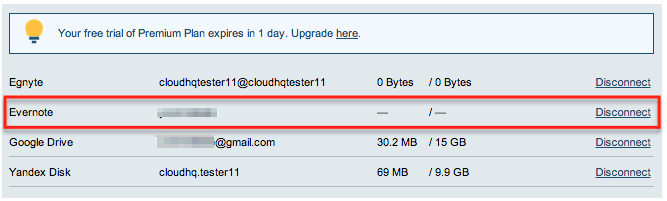
< - Go to the Cloud Accounts tab:
- Open a separate tab in your web browser .
- In the new tab, log into your first Evernote account:

- Go back to the browser tab with cloudHQ and click the Cloud Accounts tab:
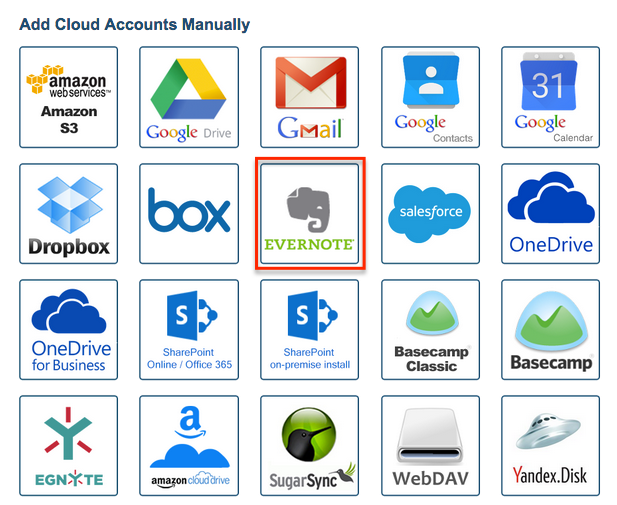
- Click the “Evernote” icon (under Add Cloud Accounts Manually):
- You will be forwarded to Evernote, which will ask you to authorize your first Evernote account with cloudHQ:
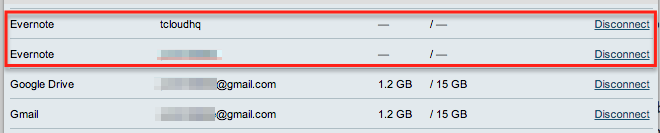
- You will then be forwarded back to the Cloud Accounts tab. You should see the first Evernote in the list of authorized services:
- Open a separate tab in your web browser.
- In the new tab, log out of your first Evernote account, then log into your second Evernote account:
- Go back to the browser tab with cloudHQ and click the Cloud Accounts tab:
- Click the “Evernote” icon (under “Add Cloud Accounts Manually”):
- You will be forwarded to an Evernote page, which will ask you to authorize your second Evernote account with cloudHQ.
- You will be forwarded back to the Cloud Accounts tab. You should see both Evernote accounts in the list of authorized services