To learn more about the Schedule Email for Gmail , visit the Schedule Email for Gmail website.
To install the extension, choose your browser from the links below:
To access the Schedule Email dashboard, click the dashboard.
cloudHQ Schedule Email makes it simple for you to schedule an email to be sent at a later time. You can draft an email now, then schedule it to be sent automatically at the perfect time. Just write the message as you normally would, then click the Send Later button.
Use our handy calendar picker to tell Schedule Email when to send your message. We’ll take it from there.
Here are the instructions for installing the Schedule Email Chrome extension:
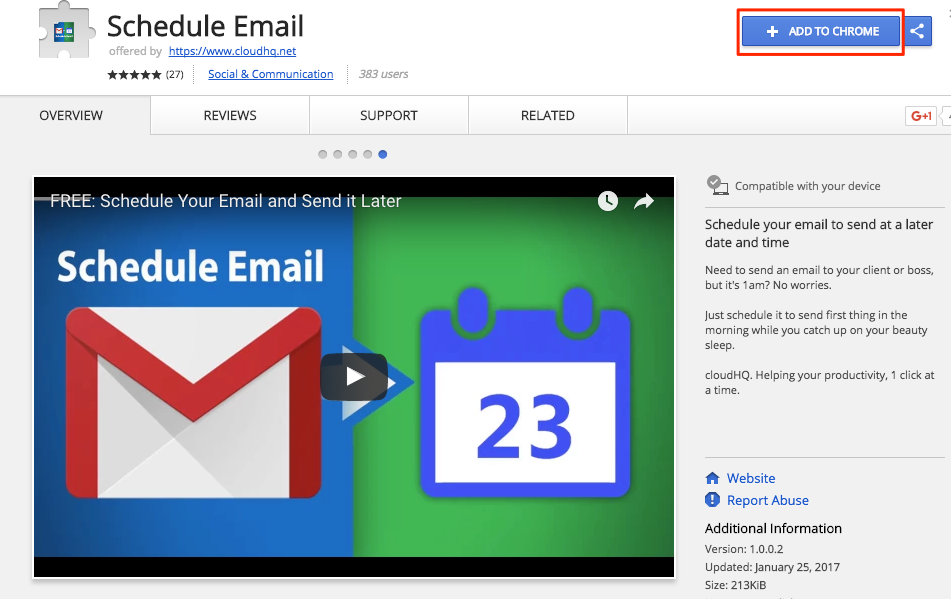
- Install the cloudHQ Chrome browser extension Schedule email from this location: https://chromewebstore.google.com/detail/schedule-email-by-cloudhq/fkbdfpegkhigflljbopnajaoehihlahj:
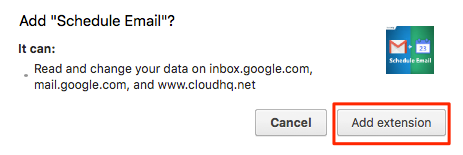
- Add the extension to Chrome so you have the ‘Schedule email’ button:
Here is how to use the schedule email button in Gmail or Google Apps Mail:
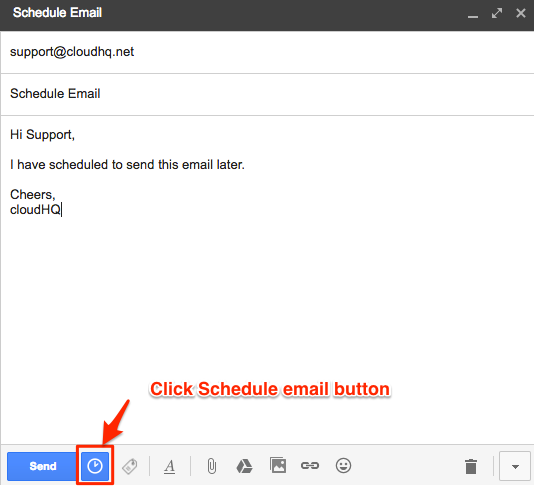
- Once you have composed email in Gmail, click ‘Schedule email’ button beside “Send” button:
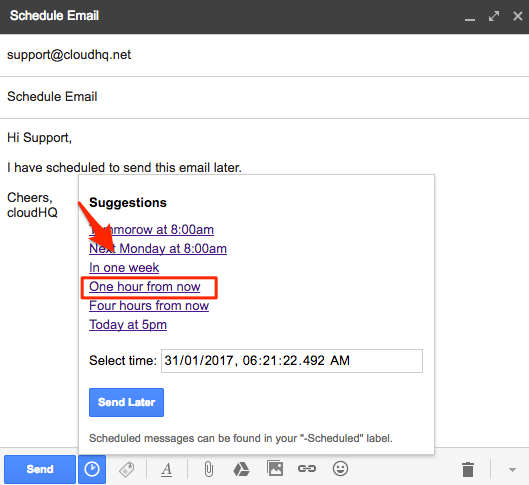
- You will be given schedules to choose from or you can input the date and time:
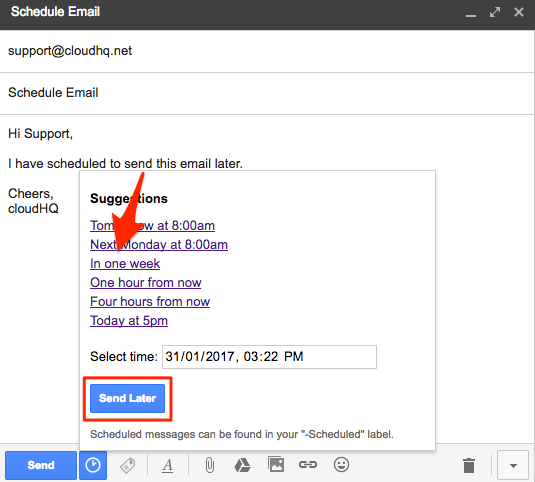
- Once you have chosen date and time, click “Send Later” button:
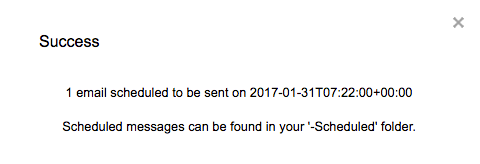
- You will receive notification that email was scheduled for sending on chosen date and time:
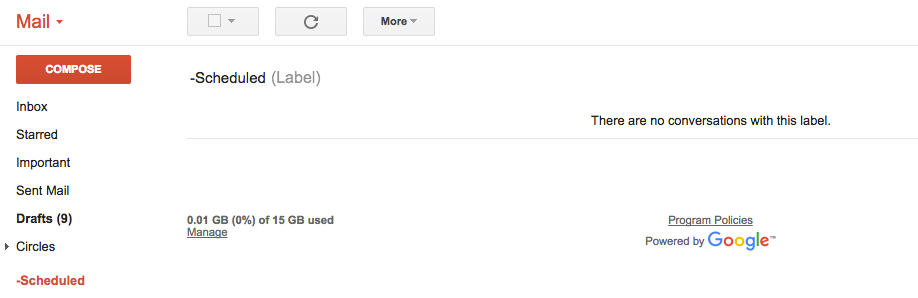
- You will be able to see scheduled email on label/folder “-Scheduled” until sent on scheduled date and time:
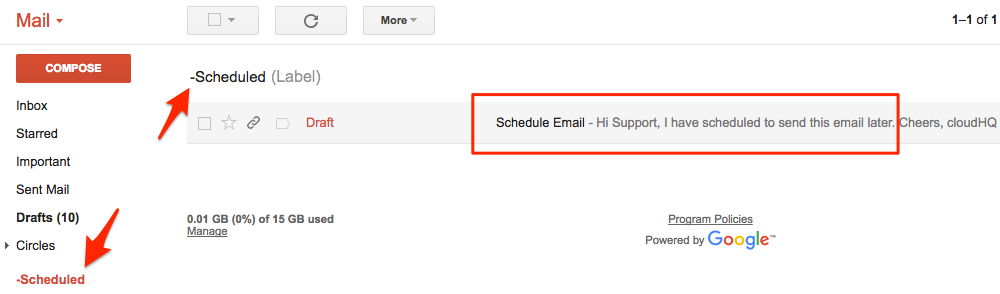
Once email is sent on scheduled date and time, it will no longer be found on “-Scheduled” label: