To install MailKing Gmail chrome extension, click here.
To install MailKing Google Sheets addon, click here.
Your MailKing dashboard is here.
This article is about MailKing Google Chrome Extension. If you want to use MailKing Google Sheets add-on (which works from Google Sheets) then please refer to this article.
MailKing is an email campaign manager which allows you to send the email campaigns from your Gmail or Google Workspace accounts. This is great for you as the sender because your emails will not be automatically marked as “Promotion” (which is one of the main problems with MailChimp or other dedicated mass mailing systems). Instead, they will actually come from your own email account.
In other words, a major benefit of sending your email campaigns using MailKing is that emails are not flagged as spam or marked as a promotion by your recipient’s mailing service (Gmail, Yahoo, Office 365, etc.) as easily as traditional email marketing software would be. This is because MailKing will send emails using your Gmail or Google Workspace account and not a commercial-use email server. So while emails sent thru MailChimp, Constant Contacts, and others are often automatically marked as spam or promotion, MailKing’s email message will not.
Read on below to understand how to use MailKing to send your campaigns:
How to install MailKing by cloudHQ
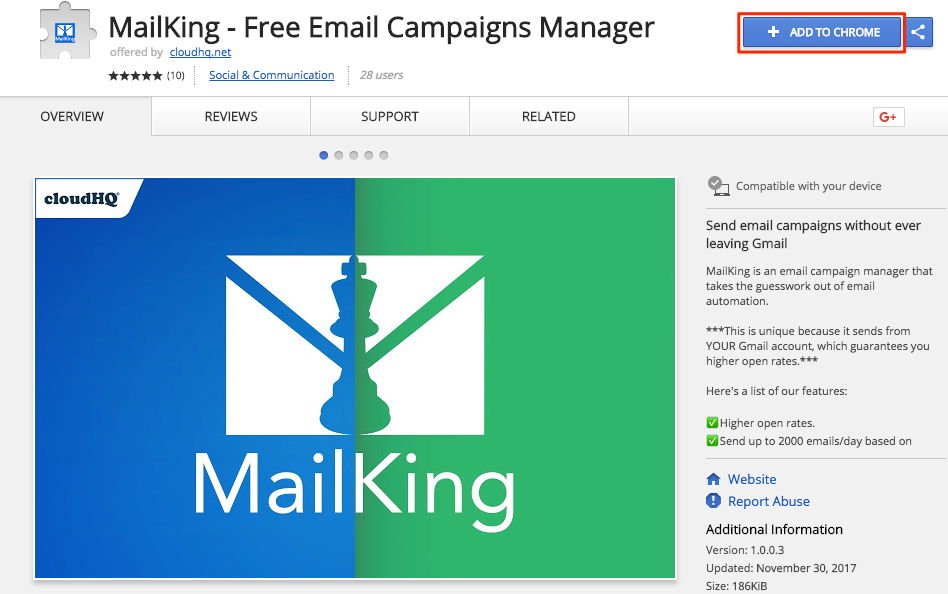
- Install the cloudHQ Chrome browser extension MailKing here by clicking Add to Chrome:
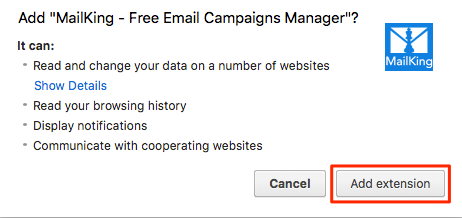
- Add the extension to Chrome by clicking Add extension:
- Once installed, you will notice that Campaigns has appeared in your Gmail in the upper-left-hand section of your screen:
- You will also see a little button in your Gmail compose: clicking on this button will convert the email you are composing into an email campaign:
How to send your first campaign
- When sending an email campaign, you first need to create your mailing list: a list of recipients (email addresses) you want to send emails to. So the first step is to create a Google spreadsheet or CSV with your recipients. The spreadsheet needs to have a column named Email – this column defines the email address to whom sent the email to. An example spreadsheet can be found here.
- Now, you are ready to create your first email campaign. The first step is to go to your MailKing dashboard. You can get to the MailKing by clicking on the Campaign button in your Gmail or by going to your cloudHQ dashboard and clicking on the MailKing icon.
Or
- Click on the New Email Campaign button.
- The campaign design window will open. Here you can import your recipients, design your email, etc.
- Give your campaign a name:

- There are three options for how to create your contact list of email recipients:
- Import a list from CSV or Excel
- Choose from a Google Contacts group
- Manually enter a list of emails

- Compose your message. If you’d like to work from a pre-designed template, click on Use Template to choose from our huge selection.


- Select the Preview tab to verify and preview your email in multiple formats:
- Mobile preview
- Desktop preview
- Sent test email

- Send your campaign:

How to replicate the existing campaign
-
- Click on the Campaigns button from your Gmail:

- Click on COPY to create a copy of your old campaign:

- Click on the Campaigns button from your Gmail: